
A pure white background is often required for product photo presentations on eCommerce websites. Well, there are other sectors where this kind of background makes a different impression. Background Removing Services is the way to create that impression properly.
Basic knowledge of image subject isolation is sufficient for the operation. But, if you want to do it professionally, there are certain things you should know. We will go deep in the tutorial by steps to make things easy. And, you can do it all by yourself if you follow them leaving no step behind. So, without further ado, let’s work on making a pure white background.
First Meet
What Is The Background?
The definition of the background is very simple if you look at any photograph or image. Capturing a photograph of a subject or a product is common with the focus point. We try to take the best shot of the subject according to the surroundings. As an example, if we capture a portrait of a person, we place the person in front of a suitable environment.
Sometimes, we capture photographs in front of a white background. Well, sometimes we use Photoshop to make white transparent for any color we need. But, that is different. Photographs of nature or any scenery are inside one single theme. So, except for the subject or subjects in a photograph, everything behind is the background.
Making A Pure White Background
The things we need to follow during making a pure white background are tricky but simple. But, why is that? And, how to make white background easily? Well, it’s all about knowing the fundamentals of photography and photo editing. Capturing a photograph with the convenience of placing a white background needs some setup.
You can do the photography over a solid colored background and the rest is up to photo editing where we replace it with a white one. The selection of the subject is common to replace the background. And, here is the place where you need professional photo editing to do the task.
Photoshop Operation For A Pure White Background
Isolation of the image subject is the primary method for a pure white background. No offense, but the isolation is a tricky part considering the subject and the existing background. Easy category subject with a solid colored background is the most convenient with Photoshop operation.
You can use the artificial intelligence of the program to make a selection of the subject to isolate. Well, if the subject is complex and the background is busy, it will be difficult to handle. The performance of a photo editor is easy to evaluate with complex subjects over a busy background. Placing a pure white background is just adding a layer after the isolation of the subject.
Way To Pure White Background Steps
The steps of making a pure white background are few but interactive by operation. We follow three basic steps to make background white Photoshop in operation. As a professional Photo Editing Company Clipping World makes things simple and understandable.
The instructions conveyed with the tutorial are also following the same great theme. Depending on the subject and the background, the operation may be difficult and need expert hands.

Step 1: Selection
The first thing we do is open the Photoshop program and load the image. Choose the Photoshop version you like, no problem handling this method. Professionals use the Photoshop CS6 version for their convenience. Also, this version is lightweight and rich with tools for manual operation.
Or, you can use the latest version, Photoshop 2021 which is rich in artificial intelligence. You can save time and labor if you need to do editing for complex subjects most of the time. We are using Photoshop CC2019 for this project.

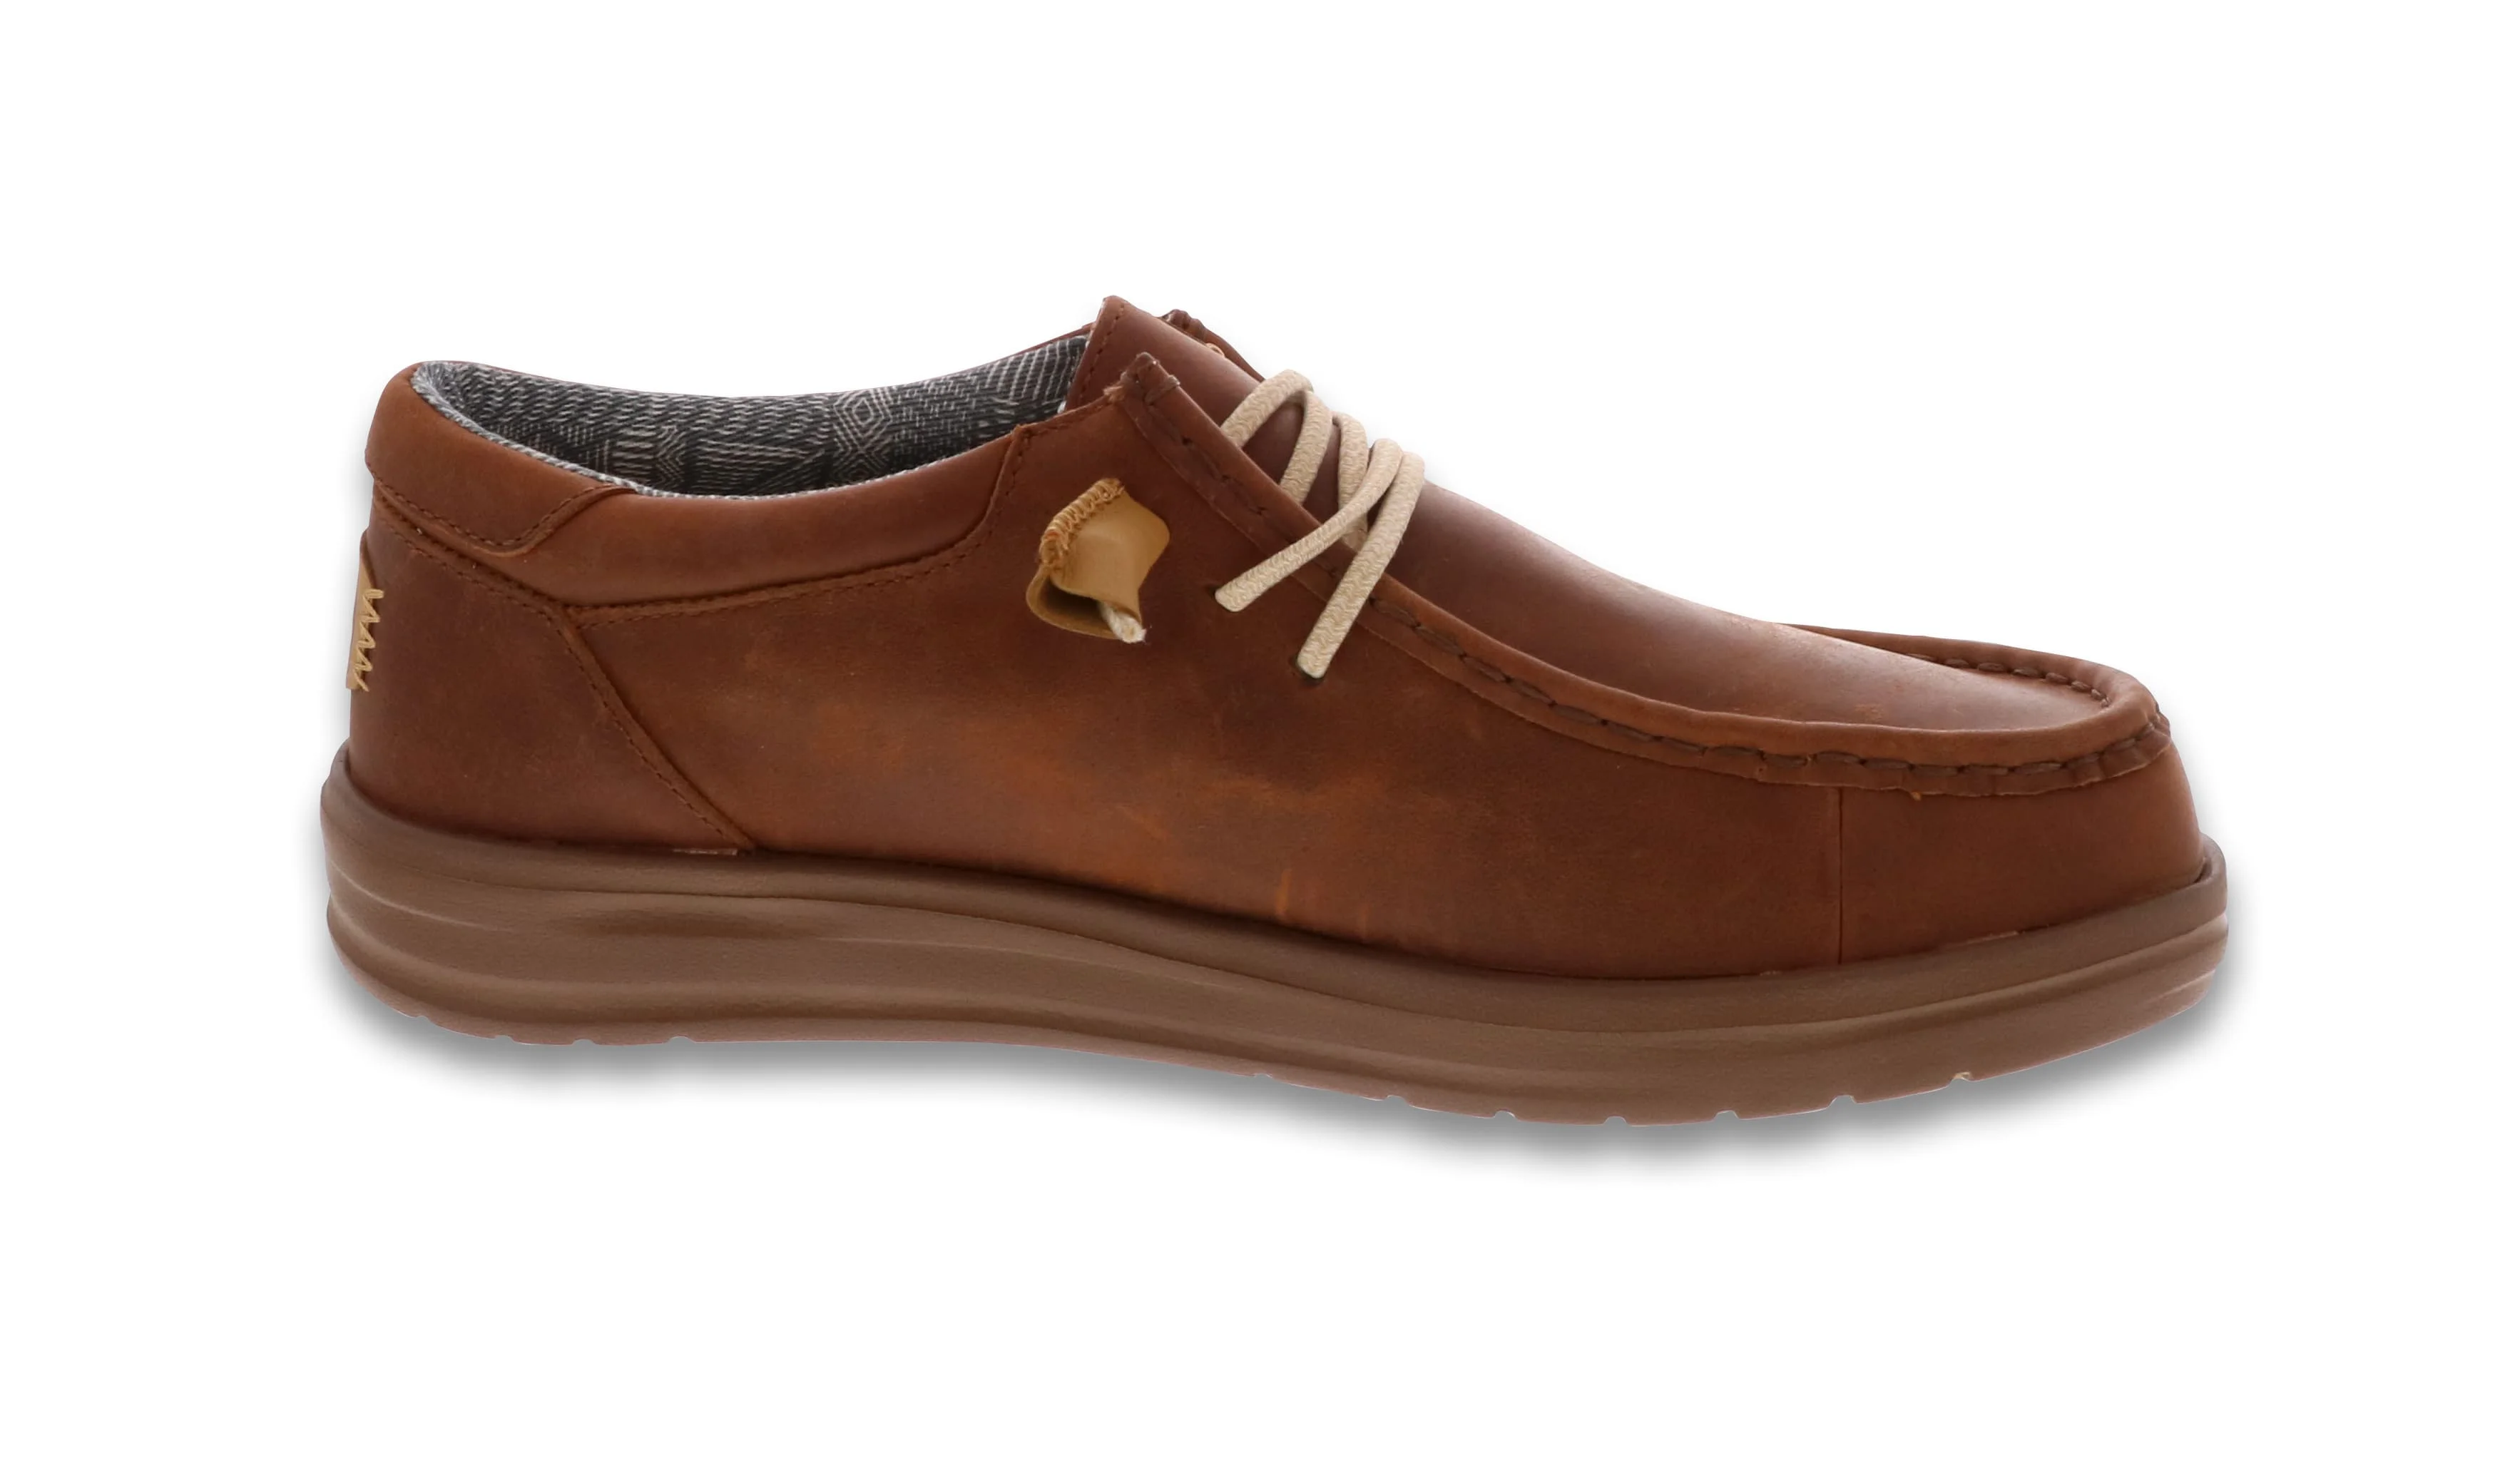
The image we are using is a sneaker with low complexity. Well, this is for making you understand the step only. If you like to learn more about the selection tool, follow our blog, “How to Make the background transparent in Photoshop”.
We are using the Quick Selection Tool here for convenience. The selection tool may vary considering your subject and requirements. The selection may not be 100% accurate with point-to-point path creation. But, if you feel like accurate results,
Step 2: The Isolation
As we have a selection around the subject, it is time to isolate it from the background. Copying the selected part to another layer is one of the most used ways. You can use the keyboard shortcut Ctrl/Command+J for Win/MAC and see the selection to a new layer. Now, we will hide the original layer by clicking on the eye located on the left side of the layer.

Or, we can use the mask option to hide areas except for the subject. You can have the subject without the background as well. After that, choose ‘Apply layer mask’ by right-clicking to disable the background totally.

Or, select ‘Layer via copy’ by right-clicking the same way on the selection. The selection will create a new layer with the subject selected. Hide the background layer and you will have the subject without the background.

Step 3: Adding A Pure White Background
Adding a pure white background under the subject is a very simple thing to do. We are using the Photoshop option ‘Create new fill or adjustment layer and selecting ‘Solid Color’.

To add a pure white background we will use the most white tone from the color panel. You can use the mouse’s left-click to place the color picker at the peak as in the below image. Or, you can use the color code ‘#ffffff’ for the bright white color selection.

Now move the solid-colored layer below the subject layer. And, you will have a bright white background. By the way, you can select any color as a background following the same way.

Step 4: Shadow Addition
As we are done with the bright white background addition, our task is done. But, without the shadow, the product looks incomplete. So, we use the blending option of Photoshop. Double-click on the subject layer to see the blending option.
On the left, you will see the options where the ‘Drop Shadow’ is located at the bottom. We are making some changes according to the subject we are using. Well, the subject you use may demand different modifications. Press OK to continue.

The final image is as below. Of course, you can do further editing such as retouching or color correction for better results. We will discuss them in another tutorial in the future.

Why Do You Need A Pure White Background?
The purposes of a pure white background for photos are many. The most important and mandatory one is for eCommerce websites. See all the websites that contain products for marketing. Each and every product photo is on a white background. And, this is one of the prime conditions of online marketing. You cannot upload your product images if you do not follow this term.
A pure white background comes with the operation of image subject isolation. So, you can use any background you need to use to replace the original one. Also, at this point, you can have the freedom to choose any color you need.
The photo subject or product looks distraction-free on a white background. The product presentation is perfect on that. Well, if the product is white or close to white, you should use a complementary color to make that well visible.
Shadow addition or modification is amazing with a white background. We generally add this shadow on the isolated subject. But, if there is a subject that is already attached to the white background, it is convenient to isolate. Then the shadow addition is alright any way you like.
Product or photo subject over a pure white background has some more advantages according to your choice. The merging of several subjects in one frame is also convenient with the procedure. So, you can use the background for multiple purposes as you need.
How Pure White Background Can Be Perfect?
Bringing perfection in the pure white background completely depends on the operation we described. You can choose the brightest white tone while adding a layer for a photo white background from the color picker.
Or, you can use the code ‘#ffffff’ to choose the color that indicates a pure white tone. Also, you can have color pallets on the internet. Just download the file and load it in Photoshop. Then use the eyedropper to pick the tone and apply it to the background.
Conclusion
The operation we elaborated on here indicates a common procedure to add a pure white background. “Photoshop makes background white” is a support by which you can apply the tone with less effort. However, there are lots of other programs for the operation that you can use.
As professionals use Photoshop for effective and perfect results. By the way, if you follow the procedure mentioned above properly, you can do it yourself. So, try by yourself and do it perfectly.
FAQ
How to create a white background in Photoshop?
Ans: Creating a white background in Photoshop is just an operation with the help of the ‘Create new fill or adjustment layer’ option. Just go there, choose ‘Solid color’, and choose the white area from the color picker.
How to create a white background
Ans: Most photo editing programs start with a white background by default. Also, you can choose the white color from the color picker and drop white on the background if that is in a different color.
How do I make my background completely white?
Ans: The operation starts with isolating the photo subject from the whole photograph. Then place a completely white background below the subject and you are done. Adding a shadow can be a smart thing to do for a natural impression.
How can I make my phone background white?
Ans: Making a phone background white is a matter of using white wallpaper. Choose one for your device and use that as wallpaper.
How do I add a plain background to a photo?
Ans: To add a plain background to a photo, you need to replace the existing background first. Take some time, do it yourself by following the tutorial and you are a master.

