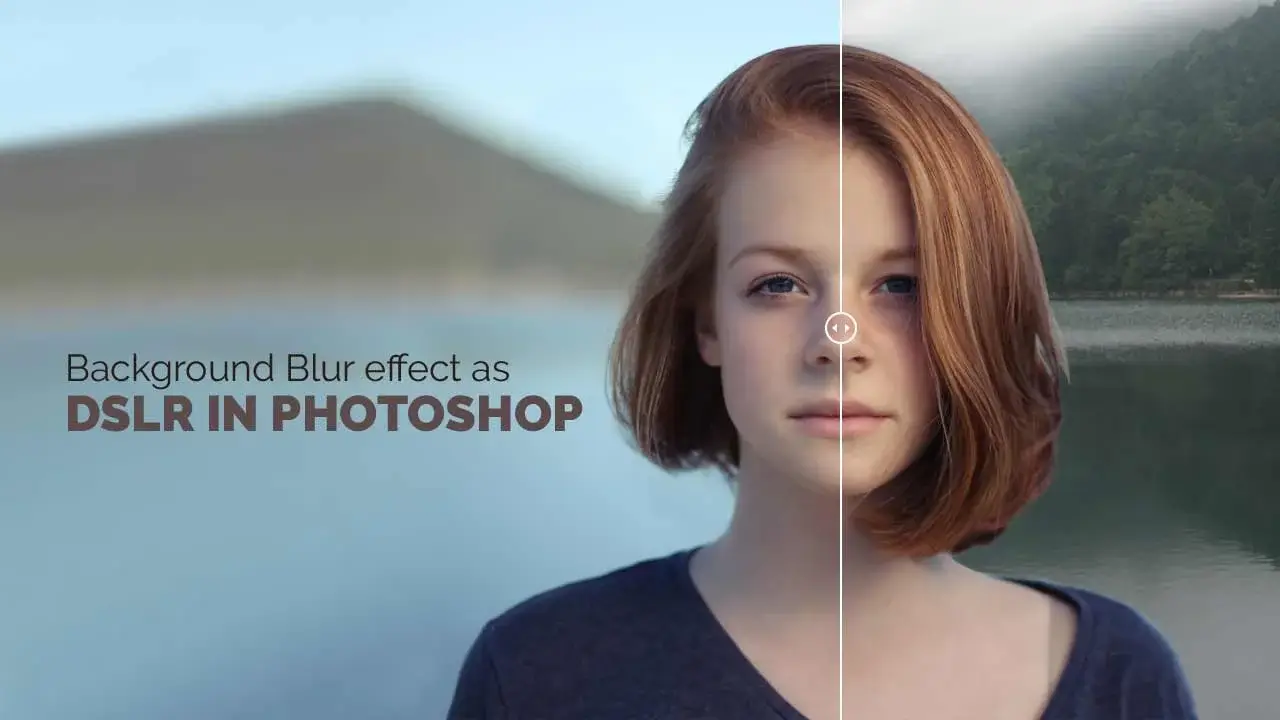
DSLR in Photoshop is no longer a secret for adding blur effects without a camera specialty. Today we are going to learn about the background blur effect in Photoshop without a DSLR camera.
Here, we will learn how to apply the effect in the background without camera options. However, blurry background Photoshop online outsourcing is well known today.
Let’s jump to the editing method. The procedure is simple but gives an amazing result.
How To Background Blur in Photoshop?
A couple of ways you can use the blur effects in Photoshop. Going through all the blur procedures is time-consuming work. We will go for the user-friendly techniques here.
The first thing to do is to select the subject that you do not want to blur. For this, you can use any selection tool as well as select the subject automatically.
The second part is that you need to blur the background using Photoshop tools and techniques. A couple of blur filters you can see in Photoshop.
Choose the compatible one according to the image for a better effect. Remember, the blurring process is destructive most of the time. So, make sure you choose the best one before applying it.
Process 1 | DSLR Blur Background
Step-01: Layer Mask and Field Blur

First, open the image in Adobe Photoshop. Copy the layer by pressing Ctrl+J for Win or Command+J for MAC. Let’s rename this new layer ‘Subject’. Select any selection tool such as the ‘Quick Selection Tool’ and click on ‘Select and Mask’ on the upper portion of the window.

A new window will open and click on ‘Select subject’. Photoshop automatically selects the subject with the use of artificial intelligence. If any portion is not automatically selected, you can use some tools to select those. For hard edges, you can use the ‘Quick selection tool’.
But, for soft edges, you can use the ‘Refine Edge tool’. Also, for this image, we will use black color as the background and opacity at 80%. With these settings, you can see the below image well and make the selection. Click ‘OK’ with the output to ‘New layer with layer mask’.
Let’s rename this ‘Subject’. Also, we have two other tutorials for separating the subject from the background. One is ‘The Easy Background Remover tool in Photoshop’ for complex subjects with a busy background. Another one is ‘the Pen Tool in Photoshop’ for hard edges subjects for any background.

Step-02: Content-Aware Fill | DSLR in Photoshop
Now, press and hold Ctrl for Win or Command for MAC and left click the mouse on the mask of the Subject layer. You will see a selection of the subjects. Go to Select>Modify>Expand and select the value ‘5’. Do not set the value to a much higher number. This will affect the natural look. Select the blur layer and go to Edit>Content-Aware fill.

Photoshop uses some calculations and fills the selected area with possible textures from nearby areas. You may see some impurities still left as image below. We will take care of them in a moment.

Select the ‘Clone Stamp Tool’, take a sample from the impurity-free area, and brush over the impurities. Do not brush over all the impurities by sampling only once. Each time sample from the nearby areas and brush over the impure areas. No need to be super accurate with the areas as they remain under the subject.

Copy the Blur layer and rename it ‘Mask’. Hide the Blur layer. With the Blur Copy layer selected, take the soft round brush and select the foreground color ‘Black’. Make the brush size a little bigger approximately 300 pixels. With the opacity, 100%, brush over the top portion of the image.
Then reduce the opacity to 50% and brush the right bottom of the 100% brushing area. Use 25% and 10% for the below portions and leave approximately 1/5 portion at the bottom of the image without brushing. We will know the reason for this procedure in the next part.

Step-03: Field Blur | DSLR in Photoshop
Go to Filter>Blur Gallery>Field Blur. This will open a new window.

Increase the blur to 230 px and hit OK.

The final output is as below. The subject is intact, the blur has gradually increased from close to far. With this method, you can modify blurring from the ‘Mask’ layer. If you make the mask more transparent, it will be blurrier. On the other hand, if you create low transparency of any portion, the background will be less blurry.

Process 2 | DSLR Blur Background
Step-01: Layer Mask and Tilt-Shift

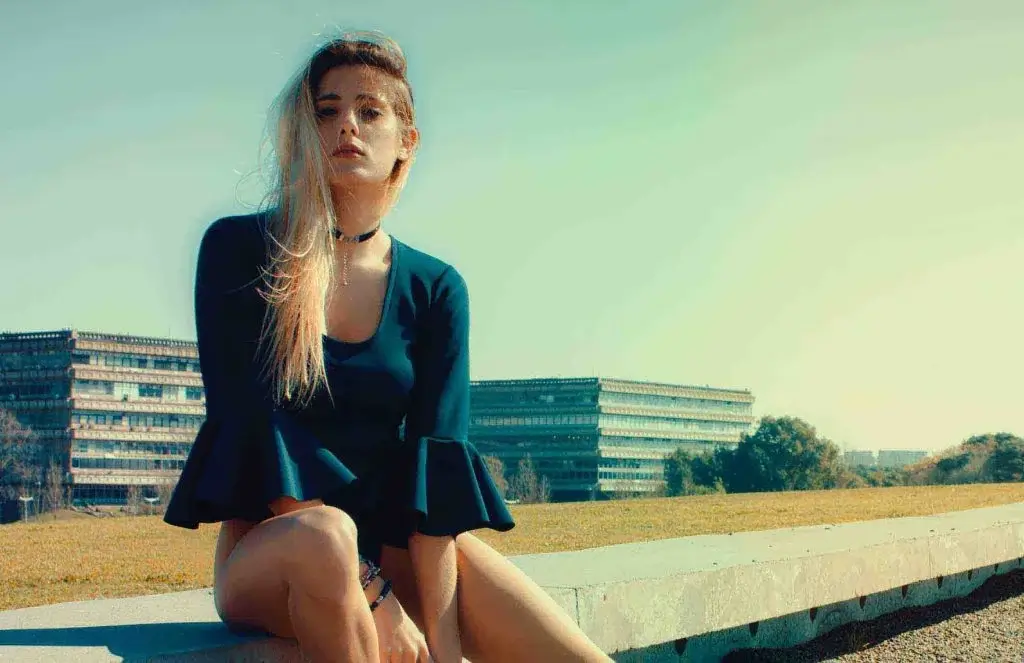
For the process, we will use a human model image with a wide background. As per the above process, we will copy the background layer for the subject and rename it ‘Subject’. For this subject, you may find it difficult to select because of hair. Nothing to worry about.
Use the ‘Refine Edge Brush Tool’ for the soft areas and brush over. Photoshop will do the math and select the relevant strings for your convenience. Check the box ‘Smart Radius’ and increase the radius to 8 px for the image. Use ‘Smooth’ 25 units to avoid harsh edges. Select output to ‘Layer Mask’ and press ok.

The mask will add to the subject layer. Make another copy of the background layer and rename it ‘Background’. By the way, it is not a must to rename the layers. We are doing it to explain specific information to make you understand more precisely.
Press and hold Ctrl for Win or Command for MAC and click on the mask of the subject layer. With the process, you can select the subject in no time. Now, hide the Subject layer and select the Background layer. Go to Select>Modify>Expand and expand by 10 pixels.
Click on ‘OK’ and you will get the selection of 10 pixels expanded. Well, the number of pixels may vary depending on the subject.

Step-02: Content-Aware Fill | DSLR in Photoshop)
Go to Edit>Content Aware Fill and wait until process completion. Press OK to go to the next stage.

You may find some impurities caused by the subject (See the right portion of the above image). Use the Clone Stamp Tool to cover up defects made by the Content-Aware Fill. If you can do that well the image would be as below. No need to perfect every pixel because it will remain behind the subject.

Step-03: Tilt-Shift |DSLR in Photoshop
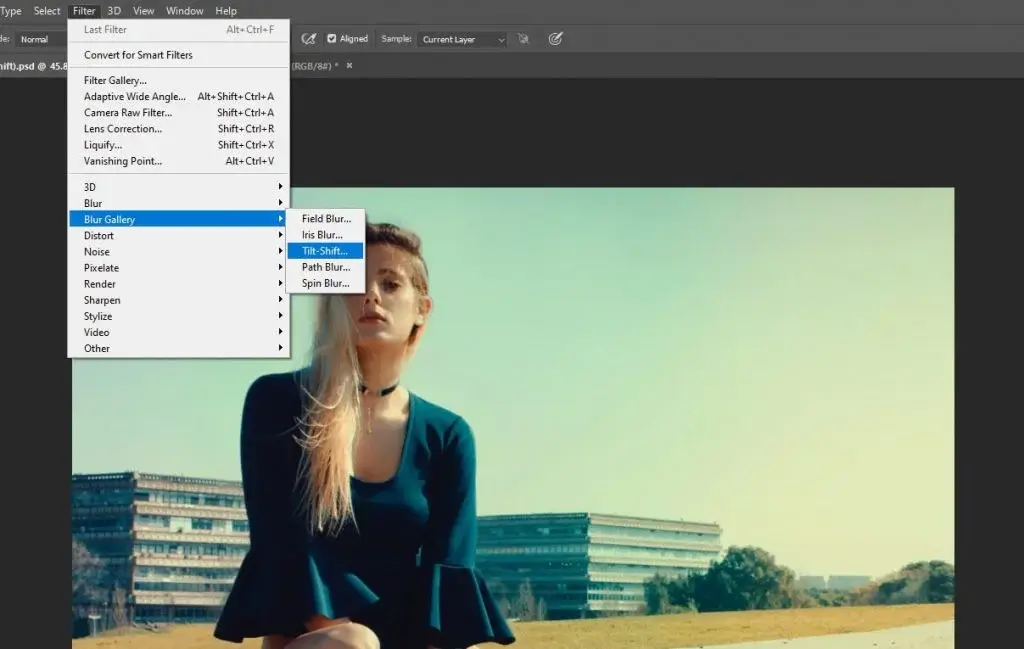
Make visible the Subject layer but keep the Background layer selected. To add blur, go to Filter>Blur Gallary>Tilt Shift.

For this image, we are setting the blurring position as the image below and rotating a little. The reason for the rotation is, that you can see the left side of the image is closer than the right side. So, the blurring should be less for the left side and more for the right. If we do not do so, the effect may look unnatural.
The blurring process may take a little time and wait for that. Hit ‘OK’ when you are done. By the way, you can convert the layer into a smart object before applying the Tilt-Shift blur. This way you can modify the blurring settings anytime you want.

The final output is as below.

Why is Background Blur in Photoshop Special?
Background blur in Photoshop is very special for editing capability. When you get the blur with a DSLR, that is different. But when you want to apply blur to any image, you need to edit it. A couple of software you may find that can create a blurry effect.
But Photoshop is one special program that has enough options to use for any kind of image editing process. Not only that, but the operation is also quite user-friendly, and you can have freedom of editing. For convenience, most designers use Photoshop. For the same reason, background blur in Photoshop is special.
Finishing Touch
Every editing that we do gets more attractive with a finishing touch. We have not added any kind of additional effect in the tutorial. You can use adjustment layers like Photo Filter, Channel Mixer, or Color Lookup for more dramatic effects. Also, you can use the Gaussian blur for a different effect.
Noise addition and the Boker Effect also give an image a little more extra touch. It is better to learn the effects of addiction and their utilization well before you apply them to images. Try to work non-destructive. You will have the freedom to work as you can go back anytime you need.
Background blurring procedure has more ways to be performed excluding these two. You can add more effects with the blur according to your will. One of the most used is the digital bokeh effect in Photoshop. You can download bokeh effect Photoshop action for free from some websites.
The effect gives more brightness to some areas in the blurred background or layer. You can also add noise if the subject has a similar kind of noise. However, the whole procedure is up to you. Use your imagination and creativity to give your image a proper blur and effect as well.
Read our latest Related
Best Camera Backpack For DSLR And Lens In 2022
Frequently Asked Questions
How to Blur the Background in Photoshop?
Ans: Photoshop tools and techniques are rich in applying blur effects on the image effectively. In the blur gallery, you will see five types of blurs. Before applying the blur, learn the effects of each type for perfection.
What is Photoshop Lens Blur?
Ans: Photoshop Lens Blur is a type of blur that creates a round-shaped effect. You can rotate, stretch, or modify the blur according to your will. Just go to ‘Filter’ then ‘Blur Gallary’ and select “Lens Blur.” Increase the blur pixels and enhance your image.
How to Blur the Background in Photoshop Elements?
Ans: Adobe Photoshop, the most renowned image editing software in the world, has a couple of ways of blurring the image. The program has a tool named the ‘Blur Tool’. In the Blur Gallery, you will find five more blurring options as well. They are Field Blur, Iris Blur, Tilt-Shift, Path Blur, and Spin Blur. Each of them has its characteristics.
What is the Fake Blur?
Ans: A fake blur is the kind of digital blur that we create through image editing. We can capture a natural blur while shooting a photograph with a DSLR camera. But when we fail to achieve the blurry effect or images that have no blur, we use fake blur. The whole process can be done through photo editing software like Photoshop.

