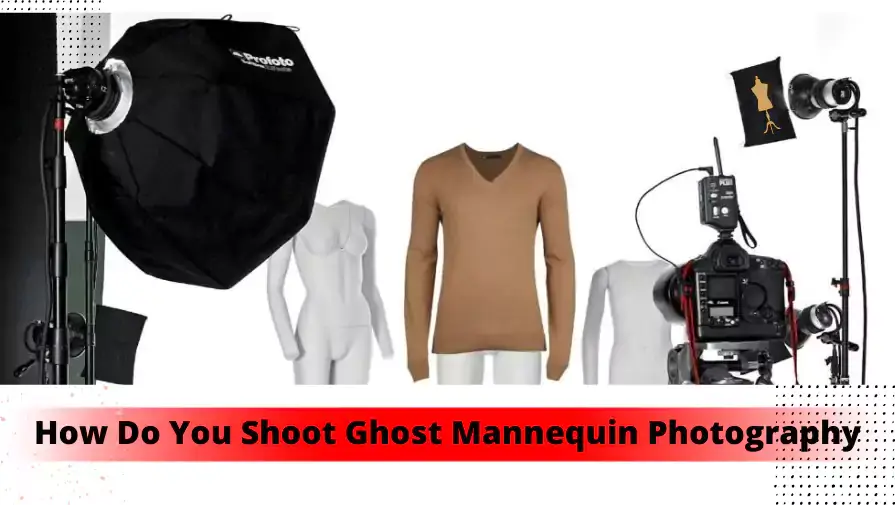
Are you in the apparel business and want your products to stand out online? High-quality product images are essential. Poor lighting or folded clothing can make your products look unappealing. Customers want to see the true shape of your items.
This is where ghost mannequin photography comes in. It creates a clean, professional look while showing the real shape of your apparel. Ghost mannequins are also more cost-effective than hiring models. They are easy to use in post-production to improve your product images.
In this article, we will explain how to shoot ghost mannequin photography step by step. By the end, your photos will look polished, vibrant, and ready to attract customers.
Importance of Ghost Mannequin Product Photography
The Ghost mannequin effect, an invisible mannequin photography, or 3D mannequin, has a great impact on the production technique, and it will solve a plethora of problems for the owner.
Sometimes mannequins can be destructive, and in this case, you might use a ghost mannequin service. By implementing this technique for your product image, you can easily reduce some costs. This is great news for entrepreneurs.
Using the ghost mannequin service and mannequin removing, you can edit multiple photos of a single product at a time and then combine them for the final output. This process will enhance the beauty of the product, and it will help you increase your business as well.
The intention is pretty clear. The aim of your customer should be to stick to the product, and it needs to be done by a high-level photo editing service.
How to Shoot Ghost Mannequin Photography
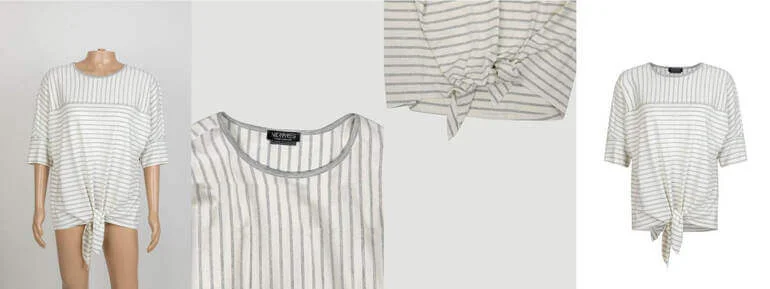
Step 1: Capture Multiple Images
In the initial stage, we noticed the ghost mannequin images were a combination of multiple images. Sometimes we call them composite images. The reason is that they are combined with two or more parts.
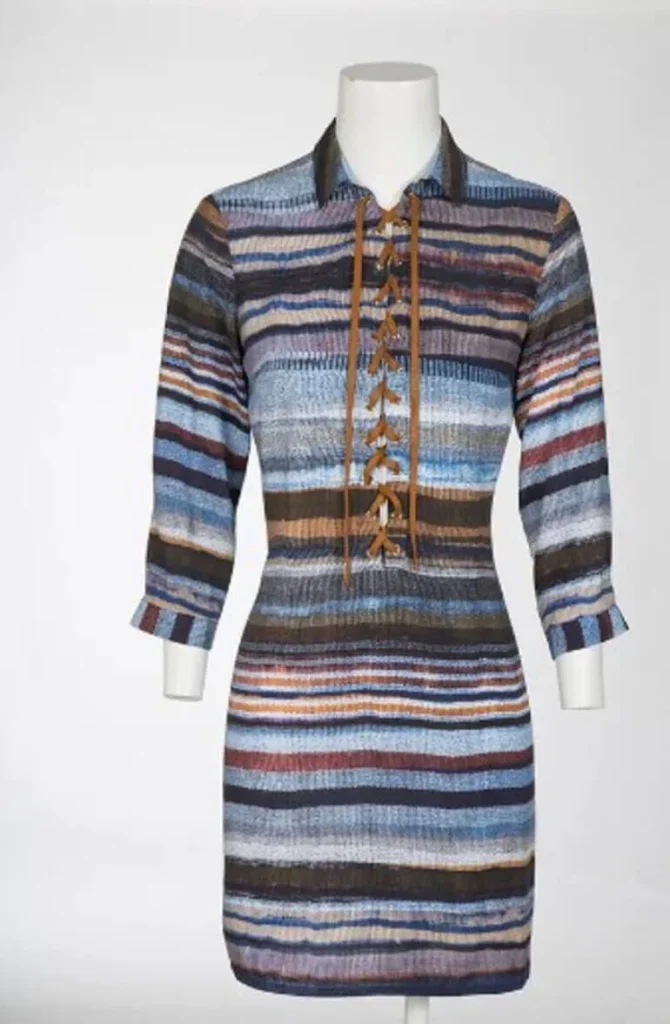
Traditionally, we use two or more images and join them together. However, according to demand, we can add more. Sometimes we are shooting with a fashion brand, or not. Although most of the clients are asking for a brand name for the garment products.
Firstly, we need to take pictures of this product from the front and back sides. We are suggesting you use the Nikon D3500 for the photoshoot. In my opinion, they are providing you with the best quality output.
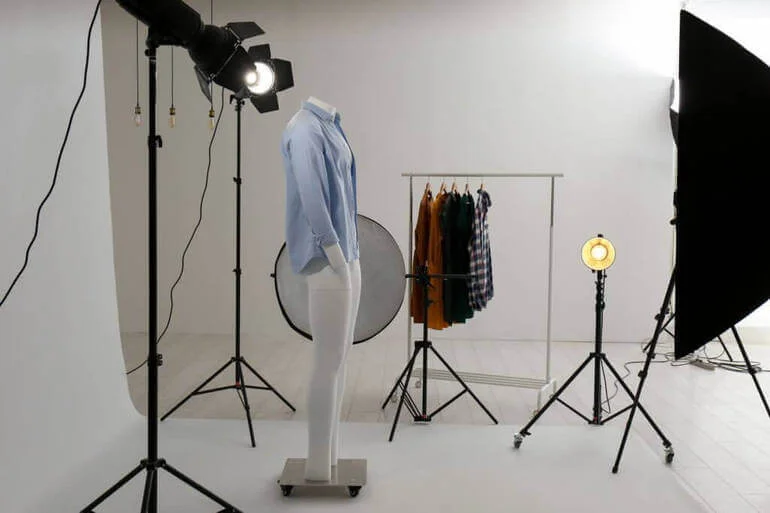
Step 2: Set Up Proper Lighting
Lighting plays a major role while you are shooting a product. If the light is not okay, that means there is bad light or uneven light. It might ruin your entire effort. We are suggesting some tips and tricks that will help you to get the proper lighting for the products.
Ghost mannequin products Photography is becoming easier when you have the proper setup in the photo studio. Most of the time, we have to deal with apparel products.
- You can use a white or gray background to remove the color distractions.
- If there are any wrinkles within the garment products, please make sure you remove them first.
- The model should be directly pointing at the camera.
- We always prefer natural light streaming. Sometimes we use artificial light, but depending on the product’s color sometimes it might be harmful.
Step 3: Position the Product and Camera
Please make sure that your targeted product or model is placed at the center of the camera lens. In this case, the camera should cover up the majority of the desired canvas area. To do that, we suggest you use a tripod or the optical zoom of your camera to capture the best possible picture.
From the research, we have seen that if we apply the proper mannequin to the eCommerce items, that will increase the sales by 10 to 35%. I believe it will give you a huge boost in profit.
Keep one thing in your mind: the distance between the tripod and the mannequin should not be too long. It will have a direct impact on photography. The distance has to be marginal.
Though you are a world-famous photographer, your camera settings must be perfect. Here I am providing you with the manual settings mode.
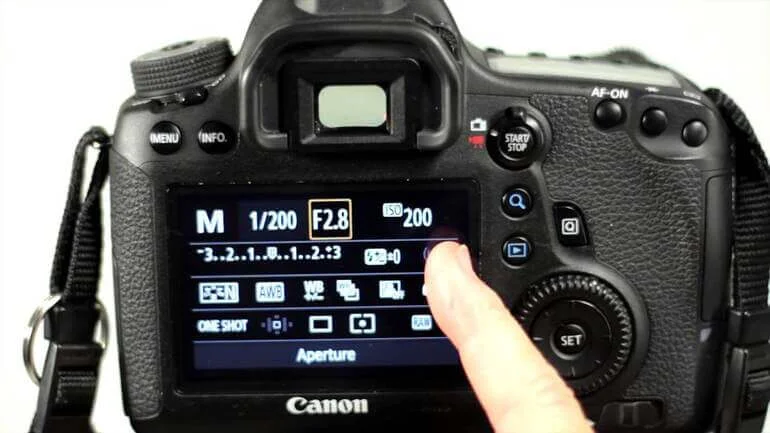
Manual Mode Settings
- Shutter Speed: 1/125.
- ISO: 100 (lower for sharper results).
- Aperture: f/8.
- Flash Power: 3.0.
When you are shooting for a ghost mannequin, keep the ISO as low as possible. It will help you capture a smart photo. Those pictures that have a high ISO will not give you a detailed result. Our aim is to capture it clearly and very sharply.
Step 4: Use the Right Lens and Setup
If you use a telephoto zoom lens, it will certainly help us to remove distortion from the images. Later on, it will help us capture more precise images, like a small object that is moving towards a big object. Through this process, you can capture every detail of the image.
Please make sure that your shooting space is large enough. It must be needed to cover up the best camera brands, tripods, two studio lights, and all other accessories that are necessary for shooting.
A backdrop is important for capturing the scenic image of the product. It can be white, blue, or anything relevant to the product’s color. To ensure high-quality studio lights, we will ensure them.
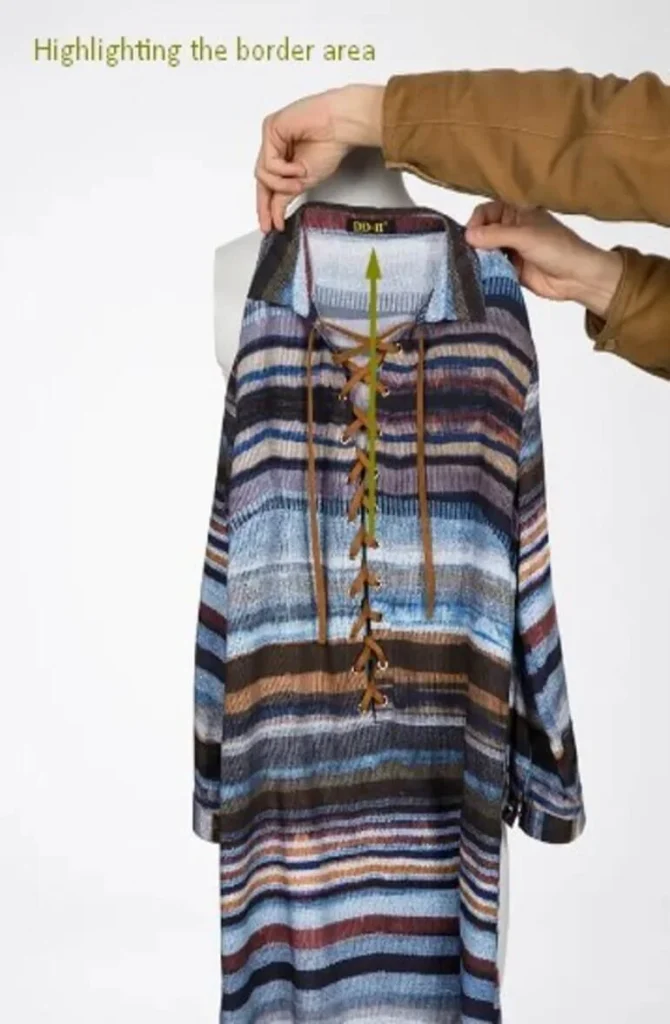
Do you like to create a 3D image with our ghost mannequin service? Then capture the front and back parts of your product properly and hang your product over a piece of foam board. After that, you need to continue the photoshoot.
This process will allow the inner process and garments to blend. Again, the shots will be different for every product, and the outlook will be different.
Now, the sensitive part is that we need to make sure that every part of your product has the same lighting. Otherwise, there will be an imbalance of color, and the outcome of your project will be terrible. Creating a ghost mannequin can become challenging if you do not follow the proper guidelines.
Post-production of the Invisible Mannequin Photography
Step-1: Open Your Files in Adobe Photoshop and Create Layers
This time, you need to open up this image in Adobe Photoshop. You can do that by simply dragging and dropping it into Photoshop. After that, you will notice that in the right corner of your Photoshop window, there is a layer panel. Select your neck joint image and create the background layer from there.
Step-2: Use a Selection Tool to Select the Product
Now our next goal is to select the image. Zoom in and make it comfortable for you. At this moment, you need to select your favorite selection tool, and it could be the lasso tool, the magic wand, or the most popular quick selection tool.
Step 3: Refine Edges & Mask
From the Photoshop menu bar, you need to select the Refine Edge button. Now press the “ok” button to the right of the dialogue box to place the mask into the shirt layer. During this time, you can move freely with your product and refine it as much as you need.
Step 4: Repeat Steps 1–3 with Foam Board
Now it is high time to repeat some of the previous work. In this way, we need to complete the front and back parts of that product. Make sure you have completed the mannequin illusion part very well.
Step 5: Combine All the Parts
This is the most important task while you are providing it to the clients. Make sure all the images are clean, tight, and beautiful. You need to organize it from the foam layers and adjust them one after another so that it will look awesome.
Step 6: Remove the Unwanted Parts from the Image
We need to make the product images beautiful so that the clients will be attracted at first glance. While you are editing those images, there is something irrelevant, and eventually, that will bring the quality down. As a service provider, you need to confirm the highest quality of your product.
The final part is creating a shadow of your product. Without a shadow, your image will look fake, and it will not attract clients. However, if someone asks you without a shadow, then you need to omit that part.
Most of the time, clients are asking for images with white backgrounds or transparent backgrounds. While doing image editing, we need to consider all these facts. Now save the image and send it to the clients.
High-quality ghost mannequin images not only enhance your product display but also help attract potential customers. If you’re looking to grow your eCommerce business further, check out our guide on ways to gain new clients for eCommerce sites.
Check Out Our Latest Relevant Article
- How to Create an Invisible Ghost Mannequin Effect In Photoshop
- How to Remove a Mannequin from a Photo
Final Few Words | Ghost Mannequin Photography
Ghost mannequin product photography is not a very hard task. You need to practice it several times before shooting. Make sure your camera lens is good enough to capture a beautiful picture. Otherwise, all your attempts will end up in smoke.
If you want to know more about mannequin photography tips or studio lights, feel free to send us an email at info@clippingworld.com.
FAQ | How to Shoot Ghost Mannequin Photography
What is the impact of the ghost mannequin service on an online store?
The ghost mannequin service makes your product images stunning and realistic. It creates a 3D effect, allowing customers to see the true shape of your clothing. This can increase engagement and boost sales.
What is an invisible mannequin?
An invisible mannequin is a removable mannequin used in photography. It showcases clothing without distractions, giving a clean, professional look. This is also called the ghost mannequin service. The process is typically done under studio lighting.
What is the material of the mannequin?
Mannequins are usually made from plastic or fiberglass. Fiberglass is more expensive, so many entrepreneurs choose plastic mannequins for cost-effective studio photography.