Photoshop is a complete package for photo editors. The software offers many features for photo editing and design. If you learn the blending modes, you can create unique effects.
However, due to technical factors, blend modes often seem obscure to beginners. But mastering them opens endless possibilities. This guide will break down each mode.
What are Blend Modes?
A layer’s blend mode determines how its colors will interact with the layers below it. So, blending mode is the process of blending the layers of pixels.
Blend modes function like mathematical formulas. The top layer is the blend layer and the bottom layer is the base layer. Each pixel’s final color is shaped by the interaction of the two layers.
Photoshop offers a range of creative tools. The blending modes allow you to add depth to your photos.
How Do Blend Modes Work?
The blend modes work based on mathematical formulas. They understand the color of each pixel in the image and give the resulting color. Here’s a breakdown:
- Pixel by Pixel Comparison: The software examines each pixel in the top layer. Then, it relates the corresponding pixel in the bottom layer.
- Using Formula Application: Photoshop applies the blend mode formula to the pixels of the top layer and bottom layer. It derives a new color based on the colors of the top and bottom pixels.
The formula and the resultant color work based on the mode that you have selected. For example, the “Multiply” blend mode multiplies the colors of the top and bottom layers, resulting in a darker tone. On the other hand, the screen blend mode adds the colors together, creating a lighter result.
Why are Blend Modes Important in Photoshop?
Photoshop blend modes are important for several reasons. Creative photo editing requires the use of blending modes to create a specific effect. So, you must understand the uses of this method to edit photos professionally.
Not only in photo editing, bleding photos are essential for digital painting, and graphic design. It gives more flexibility to the designers and creates a more striking design.
Blend mode adds depth to the design. The modes like Multiply, Screen, and overlay blend mode play with shadows and contrast. You may need a lot of time to change those colors manually. Now you can do it by changing the blending settings.
Moreover, you can use the image selection tool to change the blending modes for the selected area. Thus, you can darken or brighten parts of an image,
Again bleding mode saves your time by improving the efficiency. You can adjust the colors of the image faster with the blending options. You can manipulate lighting, contrast, and colors on a pixel level.
Additionally, blending mode is a non-destructive image editing method. You can anytime change the mode to normal and retrieve the original version of the image. So, it allows you to apply effects without permanently altering the original layer.
Moreover, blending modes in Photoshop allow the creation of a composition by using multiple images or elements. You can lighten or darken blend modes that are useful for removing unwanted areas. You do not need masking for these edits.
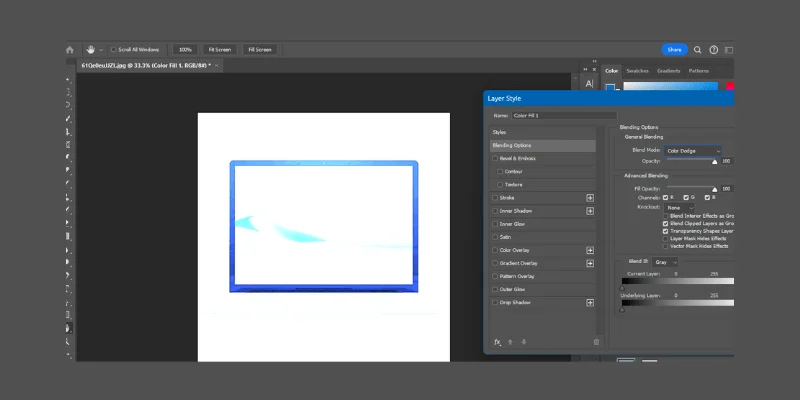
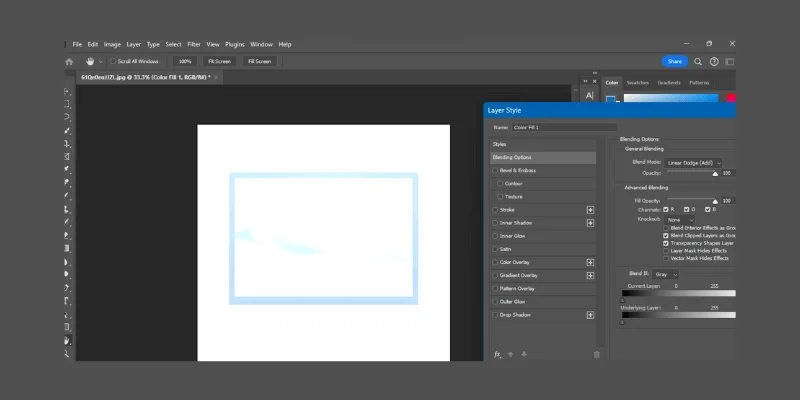
Blend modes are excellent for adding textures, effects, and lighting to your artwork. You can use the Color Dodge and Linear Dodge to create glowing or highlight effects.
Thus the blending modes allow precise color adjustments. You can use modes like Hue, Saturation, and Color to get more control over the color properties of the layer. This is especially useful for tasks like color grading or matching colors between different images in a composition.
How Can You Access Blending Modes in Photoshop?
There are different ways to access the blending modes in Photoshop. Here are some of them:
01. Through the Layers Panel
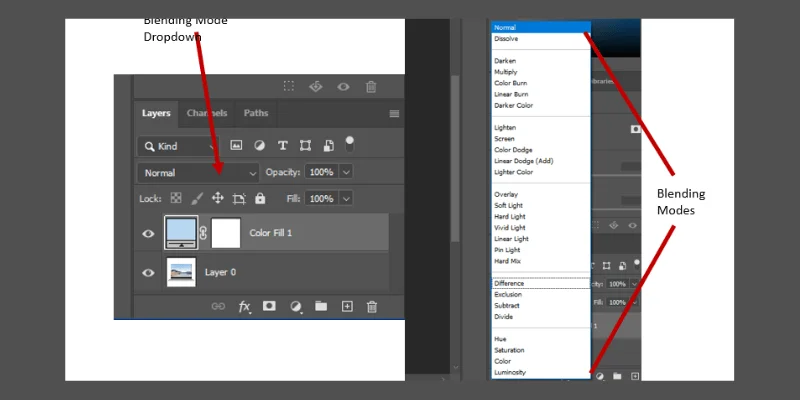
The easiest way to access the blending modes is through the layers panel. So go to the layers panel in Photoshop. You will get it on the right side of the interface. If it’s not visible, go to Window > Layers to open it.
Now select the layer on which you want to apply a blend mode. At the top, you will get a dropdown menu with the “Normal” option by default. This is the menu we are looking for.
Click the dropdown and scroll through the list of available blend modes. After that select the blend mode you want, and the effect will instantly apply to the selected layer.
02. Using Keyboard Shortcuts
You can also access Photoshop blend mode using the keyboard shortcuts. They help the editors to quickly toggle between different blend modes. Here are the shortcuts for blend modes:
- Normal: Shift + Alt + N
- Multiply: Shift + Alt + M
- Screen: Shift + Alt + S
- Overlay: Shift + Alt + O
- Color: Shift + Alt + C
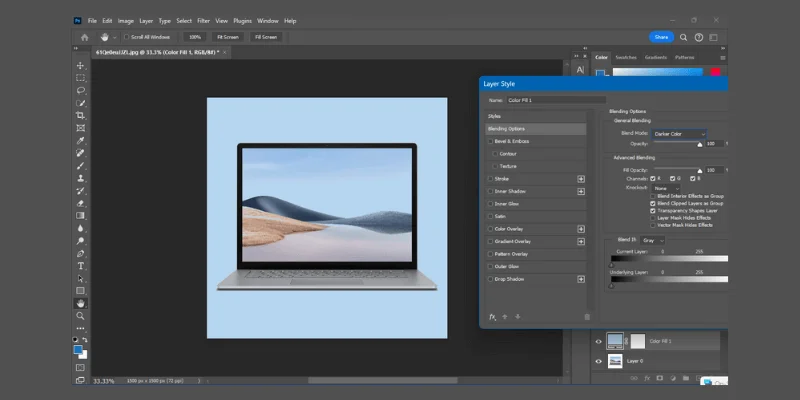
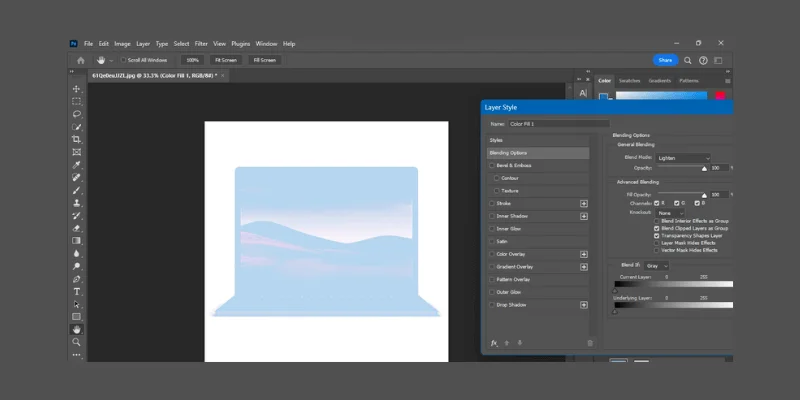
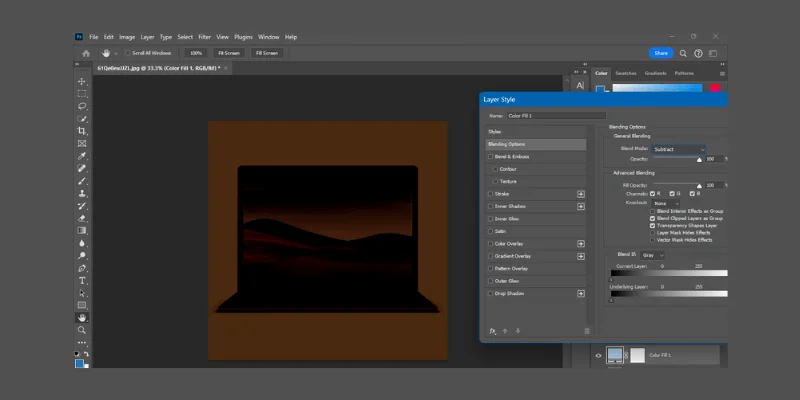
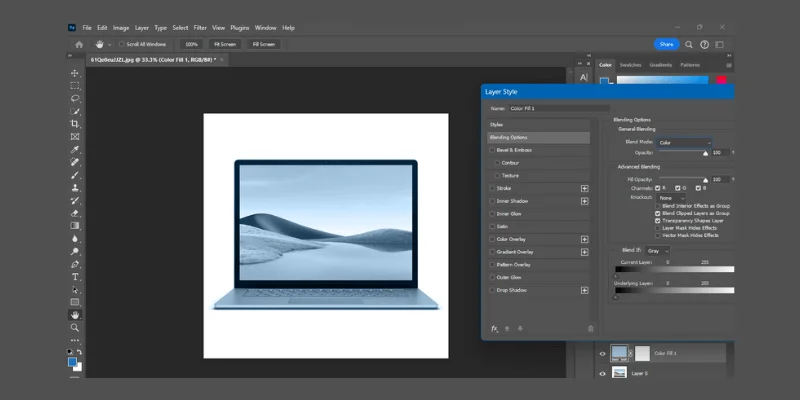
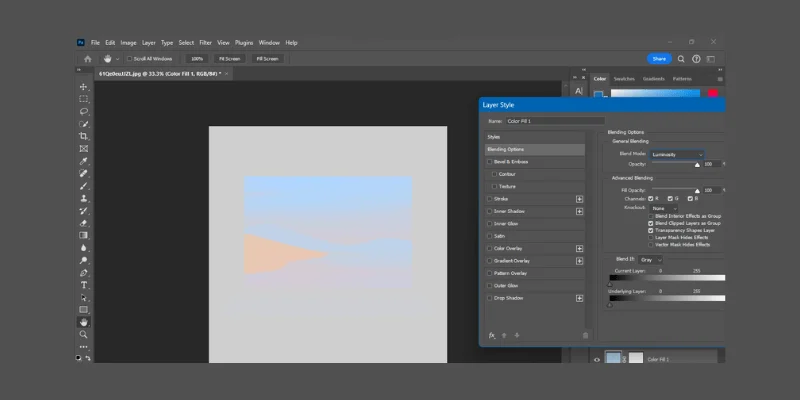
03. From the Layer Style Dialog Box
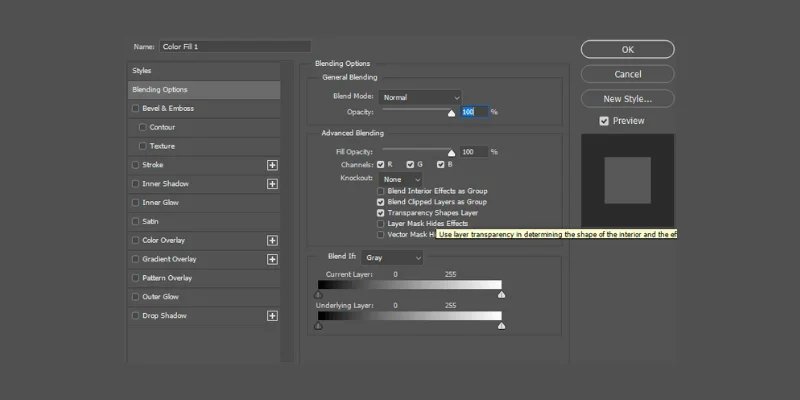
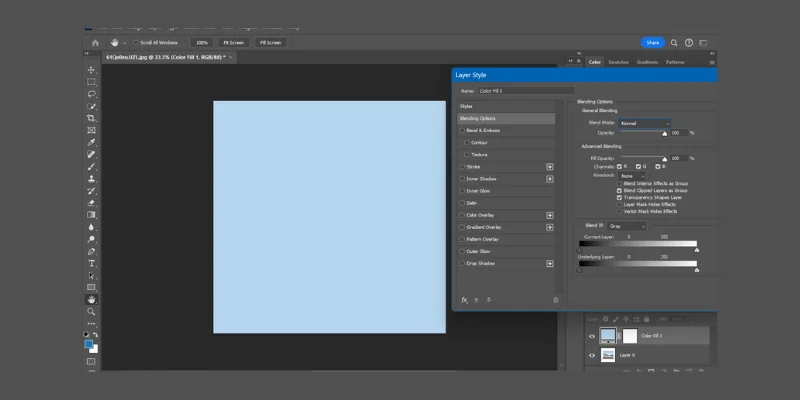
The photo editors also access the blending mode options from the layer style dialog box. You can access it by double-clicking on the layer thumbnail in the Layers Panel to bring up the Layer Style dialog box.
Now find the blend mode dropdown that is located at the top of the dialog box.
Photoshop Blend Mode Categories
Photoshop blend modes are categorized into different groups on how they interact with the colors of the bottom layer. Each category has different modes that work similarly but provide unique effects.
A. Normal Category
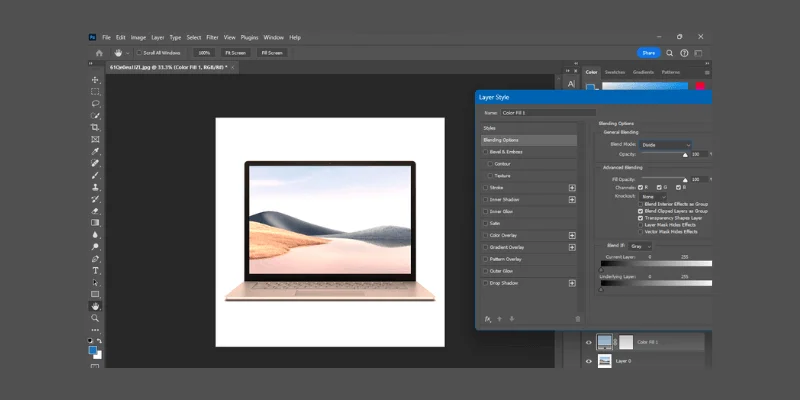
The first category is the normal category. It has two modes. The first one is the normal mode. It is the default blend mode in Photoshop. In the normal blend mode, the top layer simply covers the lower layer without blending. However, you adjust the opacity of the layer but it does not interact with the color of the bottom layer.
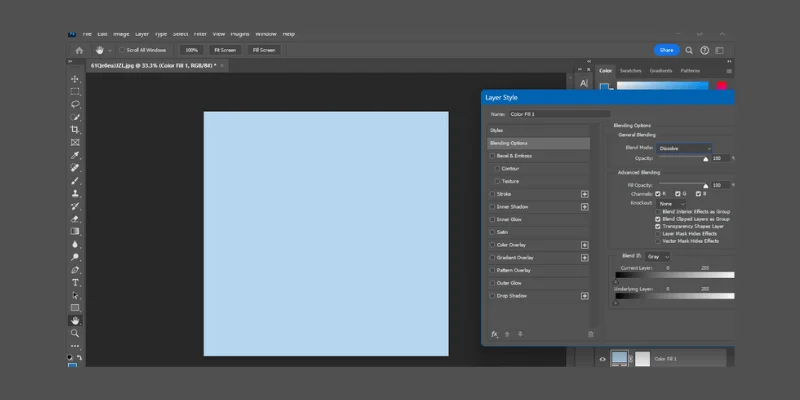
The second one is the dissolve mode. It adds a pixelated effect on the top layers based on its transparency. The final result is a bit grainy and has lower opacity than the original layer.
B. Darken Category
The second category is the Darken category. This category has five blending modes. They mainly create dark effects based on the pixels. The Darken Mode gives the result by comparing the top and bottom layers. The mode replaces the lighter pixels of the top layers with the darker pixels of the bottom layer.
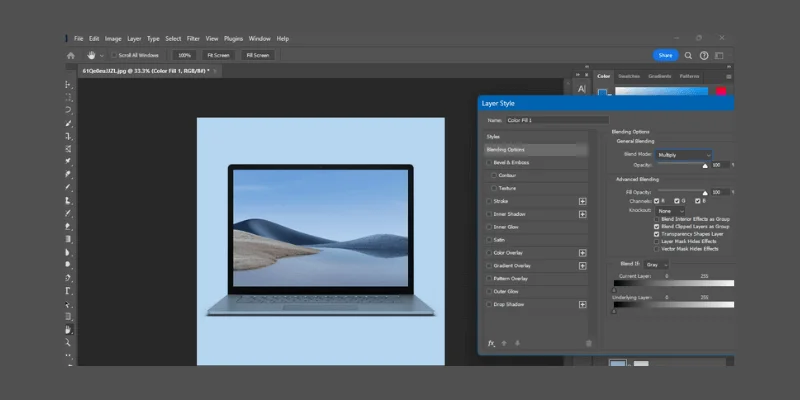
The Multiply Mode of this category multiplies both layers. The final result creates a dark effect on the top layer. Using this mode you can create shadows to improve the darker areas with a quick time.
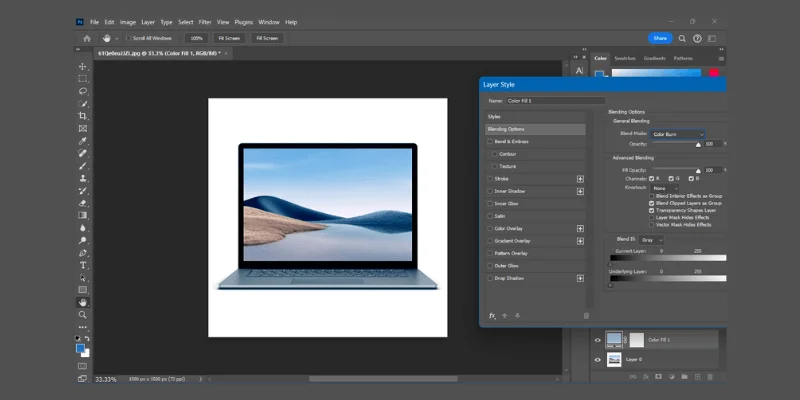
Then comes the Color Burn Mode. The role of this mode is to enhance the contrast and darken the base layer. So, you will get a high Contrast result with this blend mode.
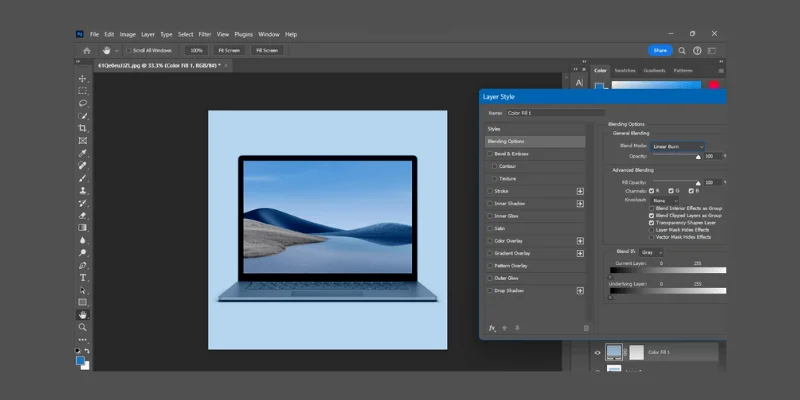
The fourth one is the Linear Burn Mode. It works like the Color Burn Mode but gives a softer and less intense effect.
The Darker Color Mode keeps the darker pixels of the top layer and makes the image darker naturally.
C. Lighten Category
The Lighten Category of the Photoshop blending modes has five modes. They give the result by comparing the darker pixels. The top layer gets a brighter look compared with the bottom layer.
The first one is the Lighten Mode. It keeps the lighter pixels and removes the darker pixels creating an overall lighter image.
The Screen Mode multiplies the lighter values of the top and bottom layers. The result is a brighter image.

After that, the Color Dodge Mode reduces the overall contrast. It enhances the highlights to create a lightening effect.
The linear dodge effect adds the pixel values of the top and bottom layers, creating an intense brightening effect.
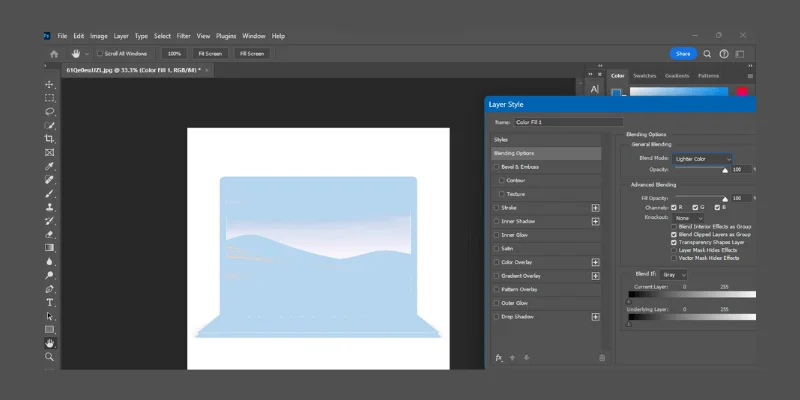
The final option in this category is the Lighter Color Mode. This mode keeps the lighter pixels without blending.
D. Contrast Category
The contrast Category has seven blending modes. These modes improve the contrast between the lightening and darkening pixels of the top layer. These modes enhance contrast by both darkening and lightening the image.
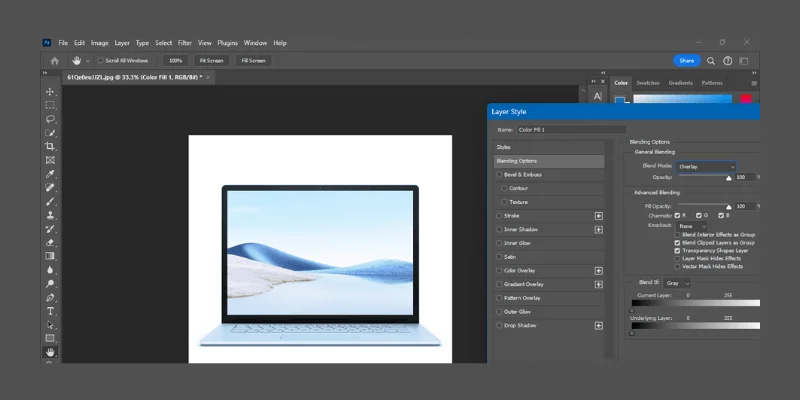
The Overlay Mode of the Contrast category Combines Multiply and Screen modes. It darkens darker areas and lightens lighter areas. Thus it improves the overall contrast.
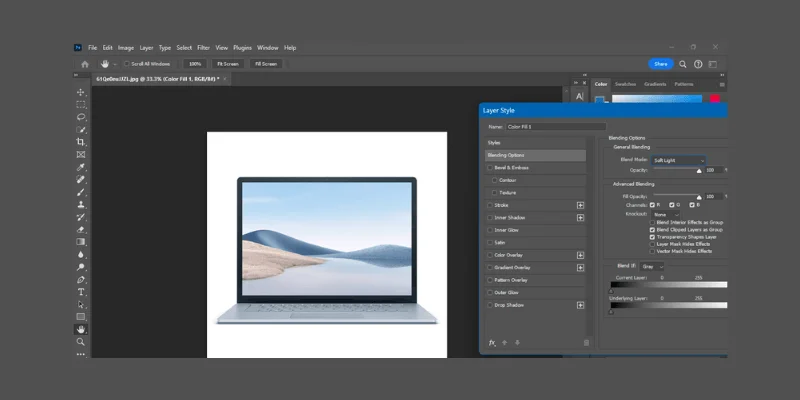
The Soft Light Mode is a more softer version of Overlay. It makes the bright areas of the base layer brighter and dark areas darker.
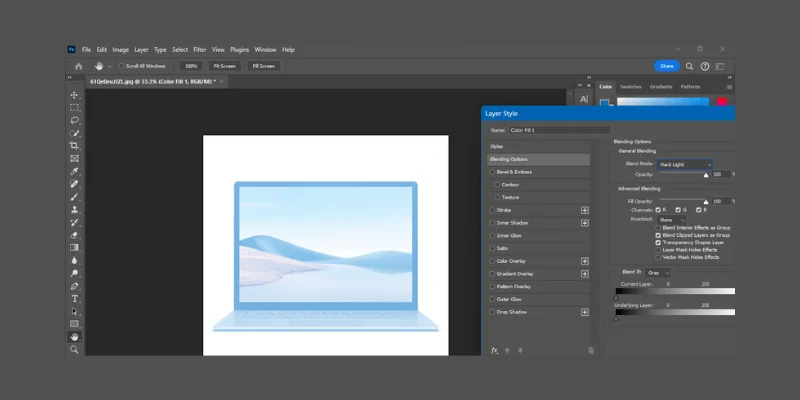
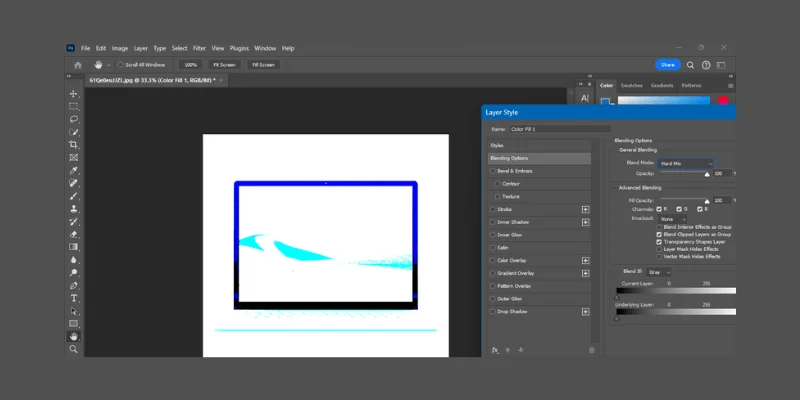
The Hard Light Mode is the intense version of Soft Light. It depends on the blend layer’s brightness. You can use either Multiply or Screen to produce high contrast.
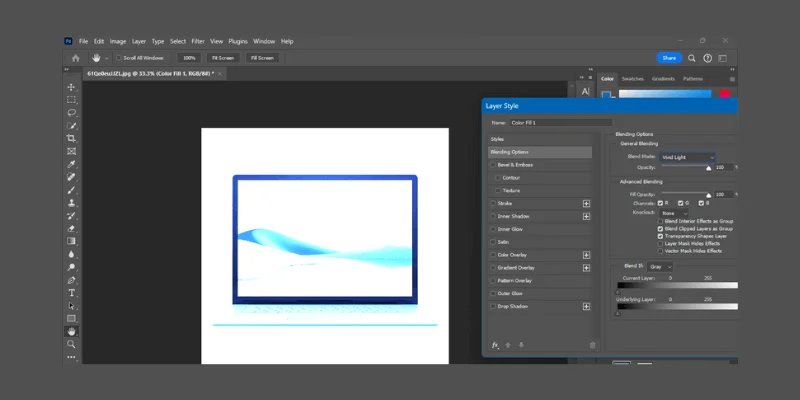
Meanwhile, the Vivid Light Mode Combines Color Dodge and Color Burn. It creates extreme contrasts depending on the top layer.
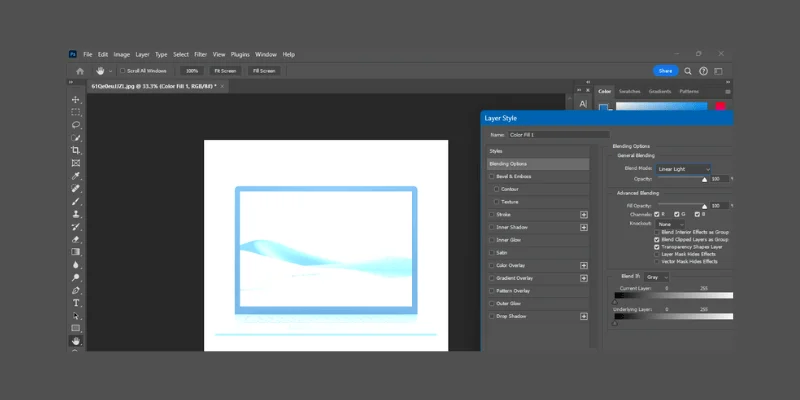
The Linear Light Mode creates a combined effect of Linear Dodge and Linear Burn. It increases both brightness and contrast. Thus creates a darker effect.
On the other hand, the Pin Light Mode replaces pixels based on the blend color’s brightness, This mode is useful for creating highly contrasting, sometimes posterized, effects.

The Hard Mix Mode makes the colors of the top layer primary colors. It creates a highly contrasted, poster-like effect with solid colors.
E. Comparative Category
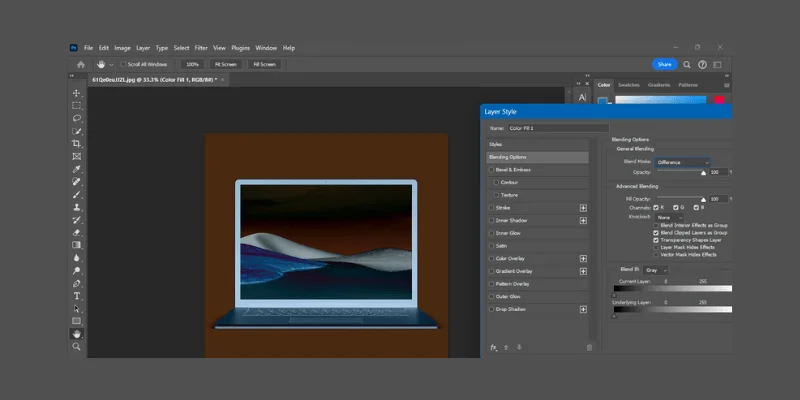
The comparative category compares the colors of the layers to produce effects. There are four modes in this category. The first one is the Difference Mode. It subtracts the pixel values of the top layer from the bottom layer. Thus the modes make the darker areas invert colors. The result is a dramatic effect.
The Exclusion Mode is similar to the Difference Mode but with less contrast. You will get softer softer and muted differences between the layers. The Subtract Mode darkens the top layer by subtracting the top layer’s pixel values from the base layer.
Finally, the Divide Mode divides the base layer’s pixel values by the top layer. It gives a brighter result.
F. Color Category
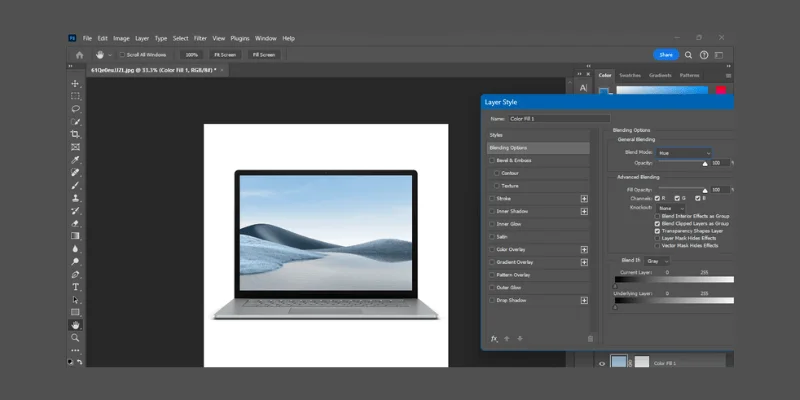
The color category blend modes impact specific color properties. This category has four blend modes. The Hue Mode affects the hue of the blend layer. It maintains the saturation and luminosity of the base layer.
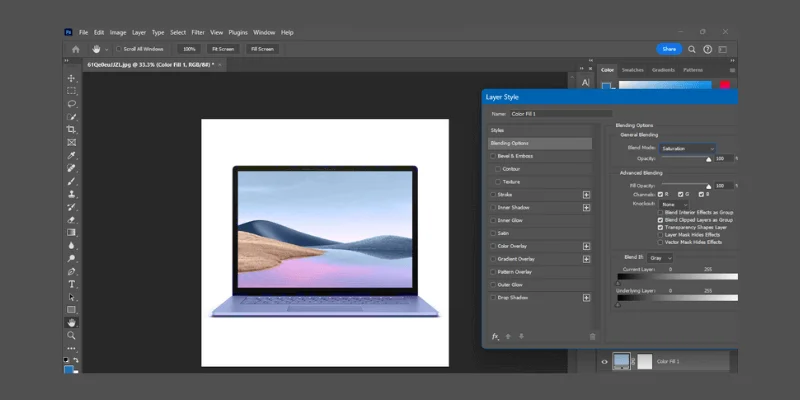
Meanwhile, the Saturation Mode impacts only the saturation of the base layer. This blending mode keeps its hue and brightness intact.
The Color Mode blends both the hue and saturation of the blend layer. However, it retains the brightness of the base layer.
The Luminosity Mode works on the brightness luminance of the blend layer. And it maintains the hue and saturation of the base layer.
Final Thoughts | Blending Modes in Photoshop
This is an insight into the Photoshop blend modes. You can use these modes to efficiently edit your photos and create new designs. However, mastering the blending modes requires some time. You may not create the required design at the first attempt. So, be patient and practice regularly to level up your skills.
Frequently Asked Questions
What Blending Mode is the Best for Shadow?
Multiply is the most used blending mode for shadow creation. It makes the bottom layer darker and creates a natural shadow effect.
What are the Commonly Used Blend Modes in Photoshop?
Each of the above-mentioned blend modes has specific purposes. The photo editors use them based on their preferences. However, most commonly the editors use the multiply, overlay, color, and screen modes.