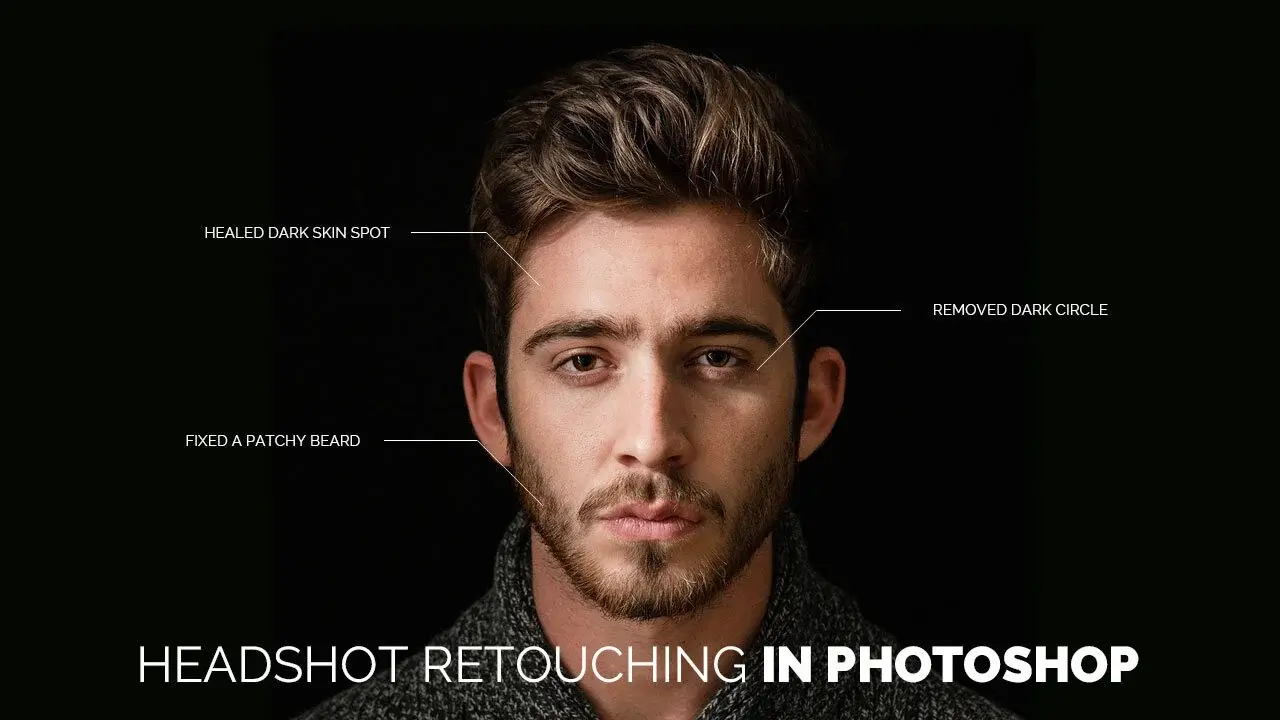
Headshot Retouching in Photoshop is a beauty-enhancing process that you can use for a perfect outlook. Only a few steps you need to follow to get a vibrant tone while cleaning the impurities.
Well, you can outsource Portrait Retouching Services from others. But, if you think of doing it yourself, this tutorial is for you. Go through the whole content and do not skip any part if you want to learn well.
By the way, if you are a professional designer, this is not for you. So, this tutorial is to give a simple idea for those who are at the learning level. Let’s begin.
The Steps | Headshot Retouching in Photoshop
Headshot Retouching is a post-processing portrait operation. So, you need to do this after taking photographs. We have divided the whole procedure into some steps.
However, you may not need to use all of them in the same image. So, do not waste your time trying each and every one of them. Try to use the steps that are needed.
Step 1: Brightness & Contrast
The first thing we need to do is adjust the Brightness and contrast of the image. Well, this is not a must for each and every image.
But, using this you will have the image to look better with details. The reason is if you have an image with a dull view, you may not find out all the impurities easily.
So, better to make the image bright with proper contrast for a fine look. Well, you should not use the Hue & Saturation during the process.
Because you do not need that at the initial stage as color is not the primary deal here. But you may need to use them later if required.
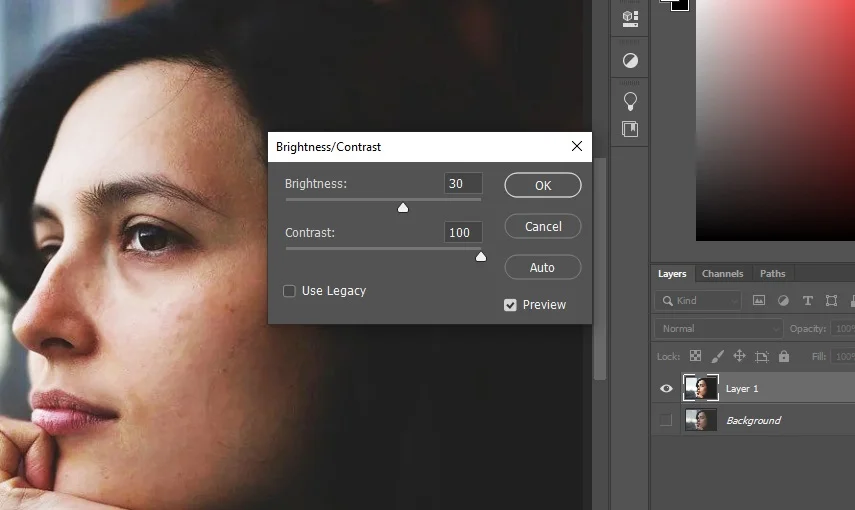
For the image we are dealing with, we will set the Brightness at 30 and Contrast at 100. You can use the Auto option if you want to.
You can also have the Brightness/Contrast from Image>Adjustments>Brightness/Contrast. You can also have this from the ‘Create new fill or adjustment layer button’ located below the layers panel.
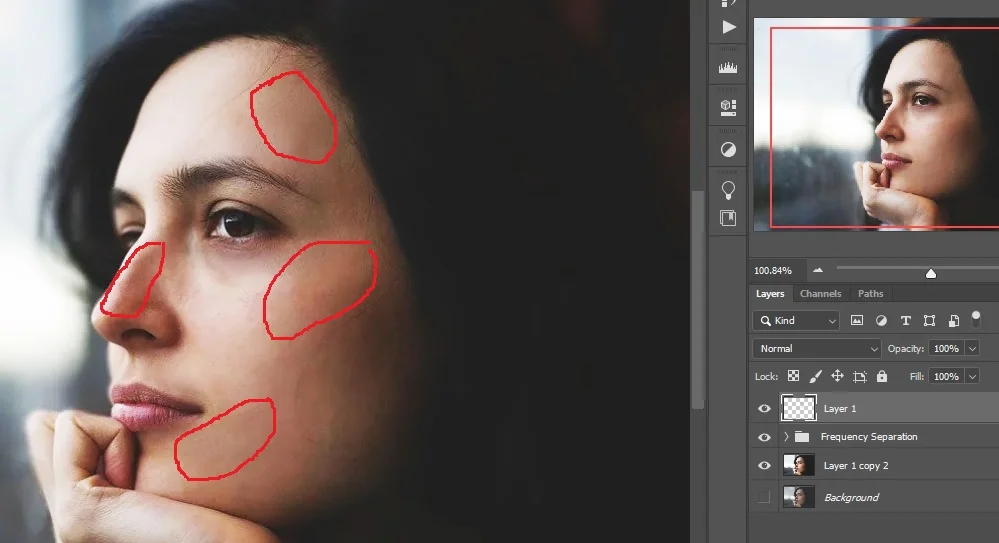
Step 2: Spot & Impurities Removal
Spot and impurities on the face area are very irritating to look at. Well, this happens more if you are a person who likes perfection. And, I believe, most people around the world like perfection. So, take care of them at this level.
For the procedure, you can use the Healing Brush Tool or the Clone Stamp Tool. I prefer the regular Healing Brush Tool. Well, there is a reason behind that.

If you use the Clone Stamp Tool, you can pick a sample from the clean area. But the activity should be perfect and needs concentration even more.
And, if you use the Spot Healing Brush Tool, you cannot choose the sample area by yourself. The sampling is automated so, this could be good or not good.
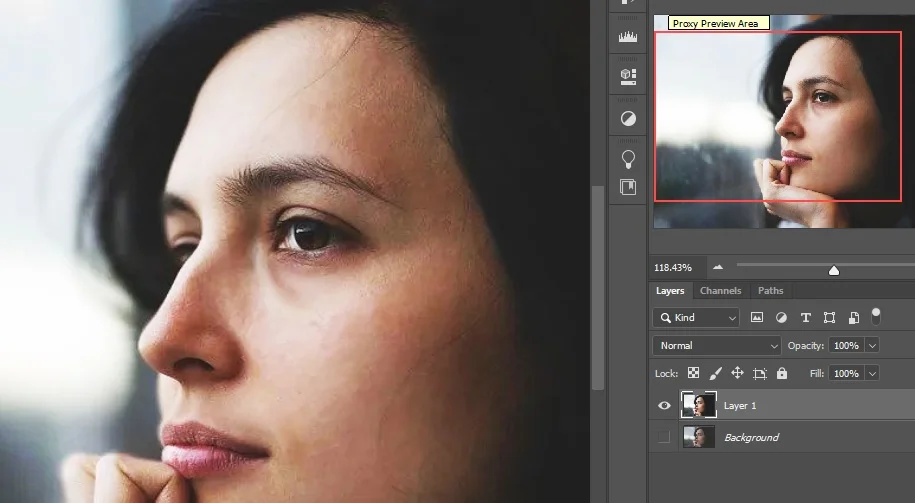
But, if you use the regular Healing Brush Tool, you can sample anytime. Just press and hold Alt for Win or Option for MAC and pick a sample from the area you want. Then brush over the area that has spots or impurities. The result is as below.
Step 3: Frequency Separation
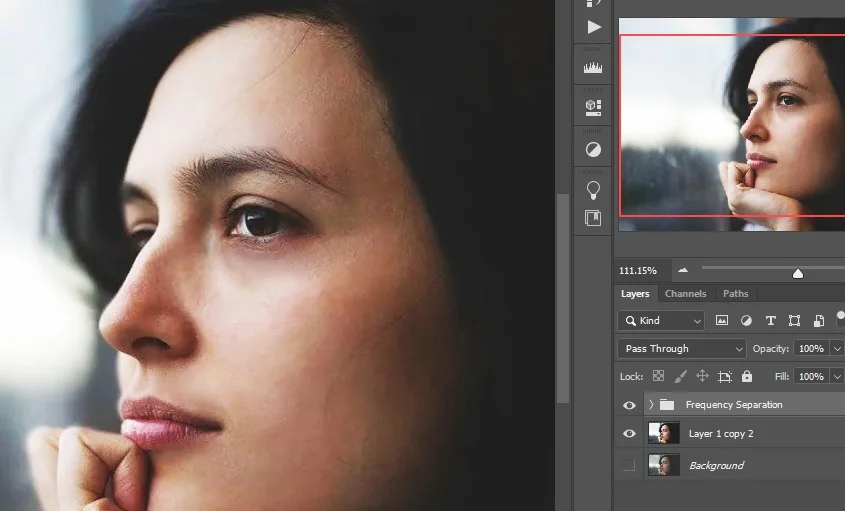
Use the Frequency Separation to go for the color and textures separately. The main thing is if you use this method, you can work properly without any risk of mistakes.
Moreover, the process is non-destructive for the original image. You can remove the layers of Frequency Separation anytime you want.
But, you do not need to remove that if you want a better result. Here we will use an action. You can download the action from the web if you want. And, remember, this process is different for 8-bit images and 16-bit images. So, make sure you use the exact action that is compatible with the image.
As we are discussing the Headshot Retouching, we will not go into detail about the process. But, if you want to know the steps well, you can check our blog, “How to Use Photoshop Frequency Separation”.
Also, if you want to learn about Action creation and use, you can check the blog, “Photoshop Action Panel and the Use of it”. For the tutorial, we have done the editing inside the Frequency Separation group.
Step 4: Patching |Headshot Retouching in Photoshop
The Patching process is less important but helpful sometimes. In the previous step, we have already used the Patching inside the Frequency Separation. Well, you can use this without the step as well.
You can have a vast idea of the Patch Tool of Photoshop. The image we are using in this blog does not require much of it. So, we are skipping this for good.
But if you want to get more of the procedure, make sure to go through the tutorial we mentioned here. By the way, try to get the theme so that you can implement it properly.
Step 5: Healing
Healing is a pretty technical step that you can do with the Headshot Retouching. You need to use the Brush Tool to operate. The process is pretty simple. Pick a sample from a nearby clean area and brush over the impurities.
You are good to go. But wait. If you want satisfactory results, make sure you choose the brush and the settings technically. For this reason, we have called this a ‘technical step’.
As we are doing the beauty retouching, we need the brush to be soft. Because the hard brush is not compatible with soft areas like the face or skin.
Secondly, set the flow to 2 to 3 percent. No need to change any other settings for the time being. Take a new layer over the top layer and take a sample for brushing.
Use the Alt key for Win or the Option key for MAC, press & hold, and click on a clean area to take a sample. Release the Alt/Option key and brush over the impure areas.
Make sure to pick up the sample from the nearby areas so that the tone matches. Be very precise with the step because this step gives you perfection. And, for non-destructive healing, do not forget to work on a new layer.
Step 6: Color Lookup
The color Lookup table is a Photoshop adjustment layer that gives you amazing effects. You will get a number of effects to verify and implement on the image.
The operation is also very simple and non-destructive. And, that means, you can remove it anytime you want or hide it to make changes.
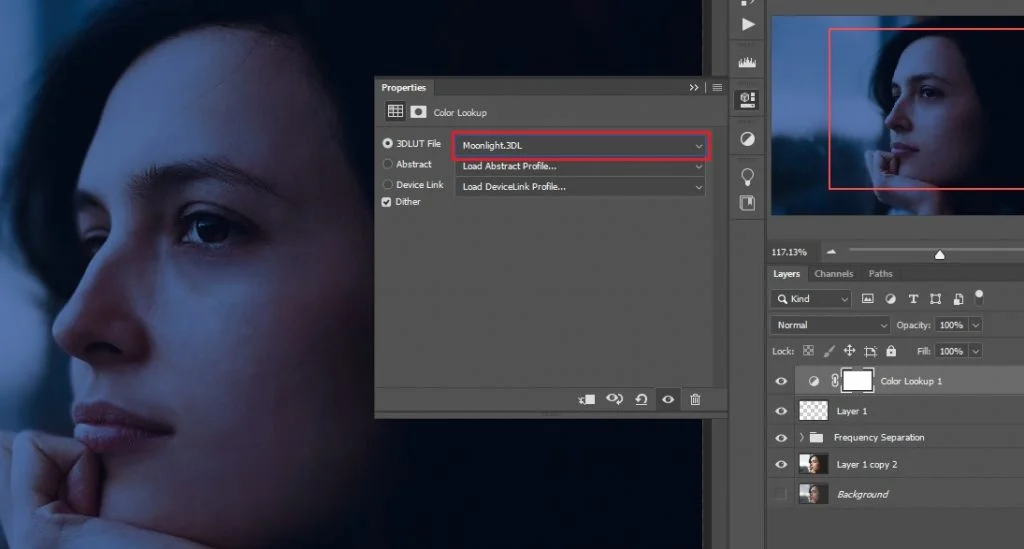
Simply click on the ‘Create new fill or adjustment layer’ button and apply the effect. For the image, I am using ‘Moonlight’ to match the environment.
Well, there are other effects that you can try on. Just click on the marked area like the below image and check them.
Step 7: Others
We have mentioned some retouching methods that you can apply to the image you are editing. But there are a large number of editing tools, techniques, and options you can use. All the options are not too short to explain.
Well, you can check out our blogs that may help you to get more ideas. The main theme is, to get the ways of working and implement them by yourself.
Conclusion
Headshot Retouching is a tough job if you are a beginner. But nothing is impossible if somebody already did that. The process is difficult at a glance but if you do it yourself, the result is sweet.
Doing the job is not really a success. Giving job perfection is a success. Learn well to implement in your work. Let others learn the way and spread knowledge.
Frequently Asked Questions
How to Edit Headshots in the Lightroom?
Headshot editing in Lightroom is quite different than Photoshop. You cannot work with every detail in the program. So, the retouching is less accurate. But sometimes you can use Lightroom for simple editing.
How to Make Portraits Better in Photoshop?
Portrait Photo Editing is the way to make the portraits better. Photoshop is the most convenient and smart software you can use for that. To learn some terms, you can follow our tutorials from the blogs.
How to Retouch Photos in Photoshop?
Photoshop is rich with tools, techniques, and smartness. So, you can do everything you want in retouching. But, before using Photoshop, get some learnings about it.