
Teeth whitening comes with the need and necessity of beauty. Photographs without white teeth may lose their appeal. In this regard, you can see a number of products & methods.
In some cases, the teeth of a human being may be yellow or red by nature. But now you can whiten your teeth in photographs if you like.
To minimize the labor, get teeth whitening Photoshop online service by photo editing outsourcing company. Or you can do it yourself by following us.
The first thing we need to know, what is teeth whitening is. Teeth whitening is a process by which you can achieve beautiful white teeth. The common property of the teeth is a white tone.
But most of the time you may lose the tone because of your eating habits. Also, you may find a couple of teeth colors. If you go to the dentist, he/she will let you know the number of your teeth color.
You will be astonished that your teeth may not have the brightest tone. So, should you stop smiling?
Absolutely no. A smile represents a person’s inner person. And a beautiful smile can win millions of hearts. So, here we are to let you know the Teeth Whitening in Photoshop process for your photographs.
How To Whiten Teeth in Photoshop | Process
Teeth retouching in Photoshop is a technical operation. You cannot just use the Brush Tool with white color and paint over the brush area.
So, you need to do something that brightens the teeth only, not other textures or colors. You will need the Hue/Saturation adjustment layer to do so.
Well, you will need other tools and procedures as well. With the combination of some activities, you will get the perfect result. The process is pretty simple if you can understand the uses of the tools and implement them.
Step 1: Open The Image in Photoshop
Opening the image in photo editing software is the basic thing you need to do. When it comes to editing the image, you cannot do it by hand. Well, if you think that you can do it, I suppose you should try it. Literally, whitening teeth is not possible by hand.
So, you need to use a reliable photo editing software which is Photoshop. You can also use the Paint Net to whiten teeth, but we will not go with that one for the time being. Open the image in Photoshop and go for the next step.
Step 2: Hue/Saturation Adjustment Layer

Let’s zoom in so that we can focus on the teeth area and see what changes we are making. Add a Hue/Saturation Adjustment Layer over the background layer. Use the Hand Tool and click on the teeth area to pick up a sample.
Now, what is the most common visual error of the teeth? I know, you already guessed it. Yes, it is yellow. When you pick the color from the teeth area, you will have the yellow selected in the properties.
Step 3: Tuning the Hue/Saturation Adjustment Layer

To figure out the affected area while tuning, move the sliders to the right for Hue and Saturation. Now, we need to work on the color range. For better results, make the selection narrower so that color does not manipulate with others. Also, make sure not to select the area too narrow so that it cannot select the teeth area properly.
You can use the left slider and the right slider to select the area. And you can move the selected area by clicking and dragging from the middle. Also, you can adjust the outside slider and inside slider for both the left and right ones to make a perfect selection.
When you are done with the selection, take the Hue and Saturation back to the middle. Move the slider of the saturation to the left a little bit and the teeth are looking great. As we are working on the white color, move the Lightness slider to the right a little bit to achieve whiter.
You can also move the Hue slider a little left, but we won’t do that for this image. But there is something we need to take care of. You can see the whole image is affected by the tuning. So, we will go to the next step to fix that.
Step 4: Select The Teeth Area

The first thing you need to do is make a selection. Well, it is pretty obvious to select a specific area to make the changes. In this case of teeth whitening, you do not need to be very precise in selection but try to do it well. The perfection of the editing work starts with the selection.
You can use any selection tool including the Pen Tool to create a Clipping Path. With the process, you can have the most accurate selection. Well, it is not always important to make the selection so precise. So, better to use a convenient tool you can handle well.
Invert Masking
For this process, we will use the inverted mask of the Hue/Saturation Adjustment Layer. Select the mask and press Ctrl+I for Win or Command+I for MAC to invert.
Take the soft round brush and with the foreground color white, brush on the teeth area. To set the default foreground and background color swatch use the keyboard key ‘D’.
Use the keyboard key ‘X’ to toggle between the default colors black and white. You will have the changes with the mask on the teeth area only. So, for this procedure, this is the selection. At last, you can decrease the opacity a little bit to have a natural tone. And that’s it.
Step 5: Extra Touch

Sometimes teeth whitening needs a little extra touch. If you focus properly, you will find some dark lines still visible teeth. To banish the darkness, we will use the Brush Tool.
So, take a new layer over the top layer and select the Brush Tool. here you do not need to select the default colors for the foreground and background.
We will use Alt/Option for Win/MAC to take a sample for the brushing. Press and hold Alt/Option and pick a sample from the clean white area.
You can resize the brush from the brush settings or with the ‘[‘or ‘]’ key. Well, there are other ways, but this will be sufficient. Keep the mode ‘Normal’ and use the flow 2 – 3%.
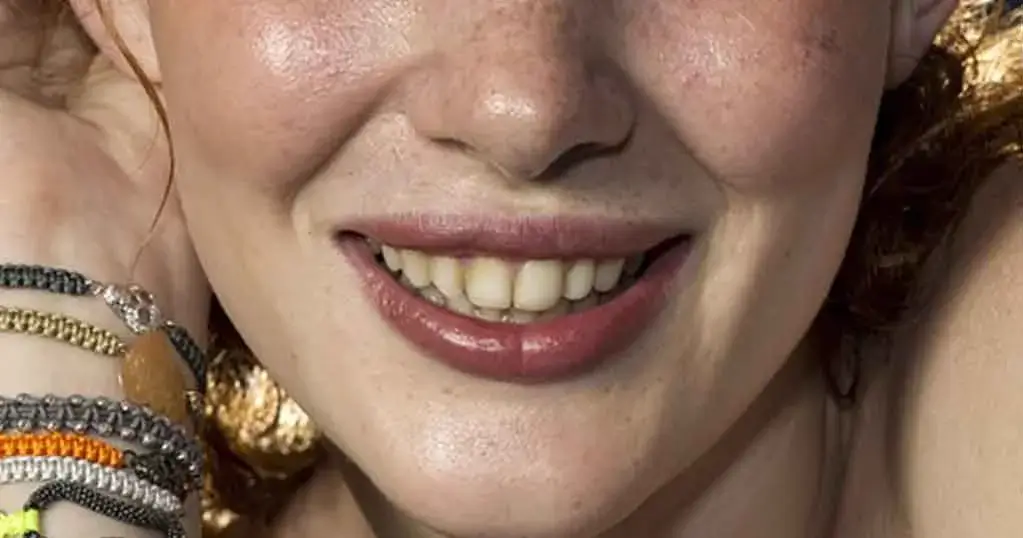
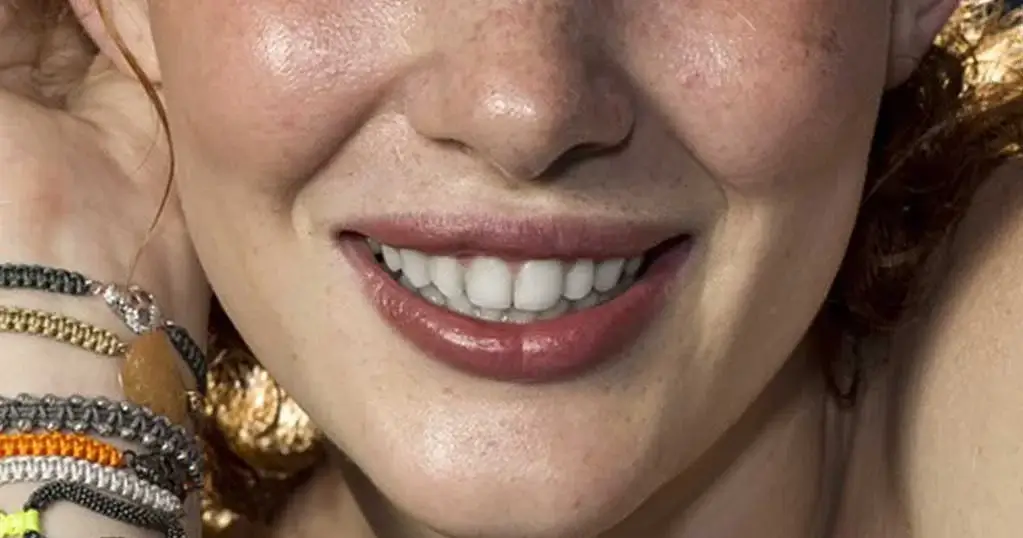
Now brush over the dark areas of the teeth. Make sure not to overdo it. The teeth will look unreal if you brush too much. At last, we are decreasing the opacity to 70% for this image to keep the editing realistic. See the below image and find the differences.
Conclusion | Easy Teeth Whitening in Photoshop
We have discussed one very effective teeth-whitening method in Photoshop. But there are other ways to do that. You can make the selection first to apply the changes later. You can use the Curves Adjustment Layer to brighten the teeth with the mask. So, you can use any method you like.
But this tutorial is to give you a better idea of the color range with a specific color. If you can understand it properly, you can apply it to edit any area of any image.
Frequently Asked Questions
How to Whiten Teeth in the Photoshop Express App?
You can whiten teeth in Photoshop Express apps with your smartphone. The operation is a little different than the computer version. You need to buy the app first.
How to Whiten Teeth in Photoshop Elements?
Whitening teeth in Photoshop elements is quite effective if you can do it well. Go through the tutorial and learn one of the techniques that you can use. You can implement other techniques and get good results.
How to Whiten Teeth in Lightroom?
You can whiten teeth in Lightroom as well. For that, you can make the selection of the teeth and make the changes you need. But, for creative works like this, Photoshop is the best.
How to Remove Lipstick from Teeth in Photoshop?
Lipstick removal is a little different than what we have already discussed here. Well, if the lipstick shade is light, then you can use this method to remove that as well.
How to Whiten Teeth in Video Editing?
Whitening teeth in video editing is quite different. You cannot use Photoshop to do that. You need to use Adobe Premiere for the video files.