If an image is as valuable as thousands of words, then engaging product photography is as worthy as millions of visitors for a website. I do not have data for the statement to be justified (yet).
Nevertheless, learning product photography tips can quench your thirst to become a successful product photographer. Also, DIY product photography and photo editing can prove to be a precious asset in improving your website strategy.
Nowadays, 51% of the US people consider online shopping more convenient than traditional shopping.
It also stands with proof that around 49% of people still love to buy stuff from a physical shop, where they get the pleasure of touching and feeling products before handing over the money.
However, that’s enough discussion; now, let’s get into the deep knowledge of product photography tips.
What is Product Photography?
Product photography is a kind of commercial photography. This genre of photography has a target to present a product on e-commerce websites with an eye-catching look. Product photographs are used for commercial purposes such as catalogs, brochures, and advertisements. Also, product pictures play a significant role in yearly sales improvement.
When you photograph products, you should anticipate the overall look and feel of the image. The lighting, color, and composition must be appropriate. It would help if you also made sure that the colors were bright and appealing to customers.
There are many ways in which you can take photos of products. You can either use a camera or your mobile phone to get a charismatic picture. Here, you can find the significant difference among multiple product photographs.
Instruments Needed for Product Photography
Taking product photos demands several instruments. For instance, fixing product background, lighting, camera, tripod, and so on, for better quality images. As a beginner in product photography, you might want to know the instruments in detail.
01. Table for Product Photography
Tabletop photography is a famous option for still-life photographs. This type of photography focuses on covering the object situated on top of the table. Tabletop photography is especially suitable for food and product photographs. Around 24- to 27-inch-wide table is considered a standard size for product photography.

02. Tape to Secure the Table Border
Based on the table border you chose, you need to utilize tape to secure the border for better comfort. As a result, nothing to fear about a product falling to the ground.

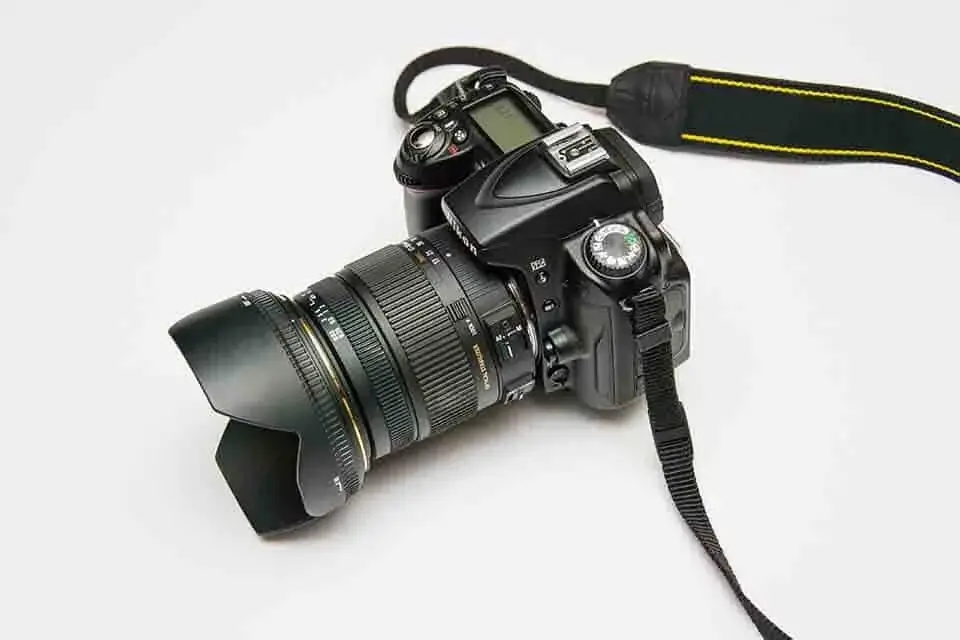
03. Camera | Photography Instruments
Thinking about selecting a camera for product photography? Having a professional camera is a plus point. But If you are on a tight budget, you would be surprised to know that a standard camera can give engaging images. So never go for the crazy camera system; the studio’s perfect arrangement will deliver your outstanding product photos.
Don’t forget to utilize your smartphone. In today’s technology, smartphones have a great reputation for their cameras. Even under a proper lighting setup, a mobile camera can capture a product like a pro camera. So, stick with the camera that you have and don’t get disappointed with an expensive one.
Still, if you are enthusiastic enough and ready to buy a high-quality camera, read our blog’s best camera for product photography in 2022.
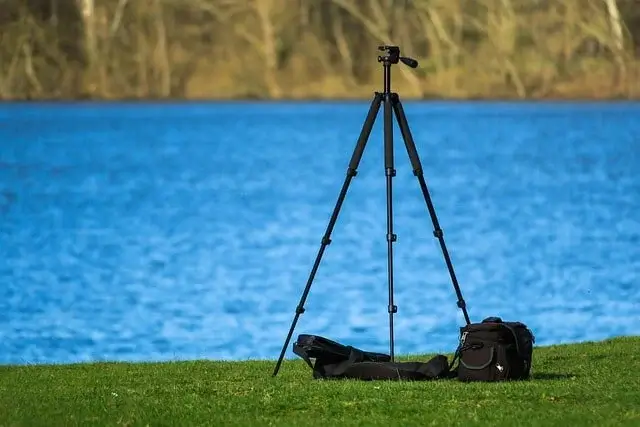
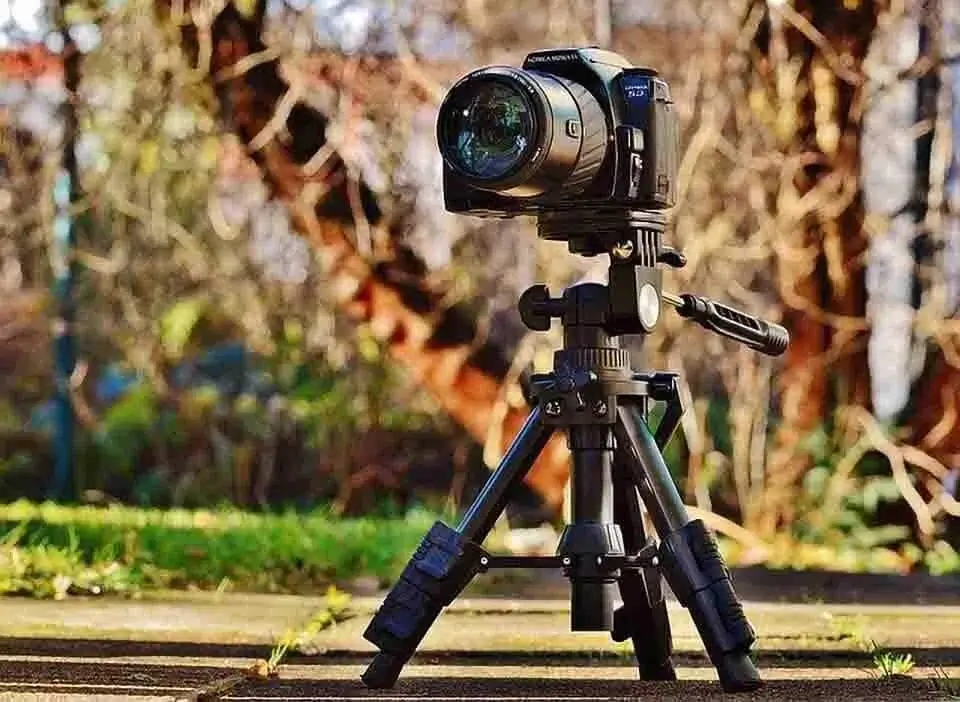
04. Tripod
As your hands’ movements will be the reason for the camera shaking, the result will be blurred images. Remember, it’s very critical to get a perfect caption with raw hands, and here the necessity of a tripod comes up. You may already be thinking about why to buy this redundant piece of equipment for product photography.
A tripod in a product photography studio is a basic demand for the photo season. Placing a tripod will show you a great distinction for clarity, visibility, and quality in e-commerce product photography.
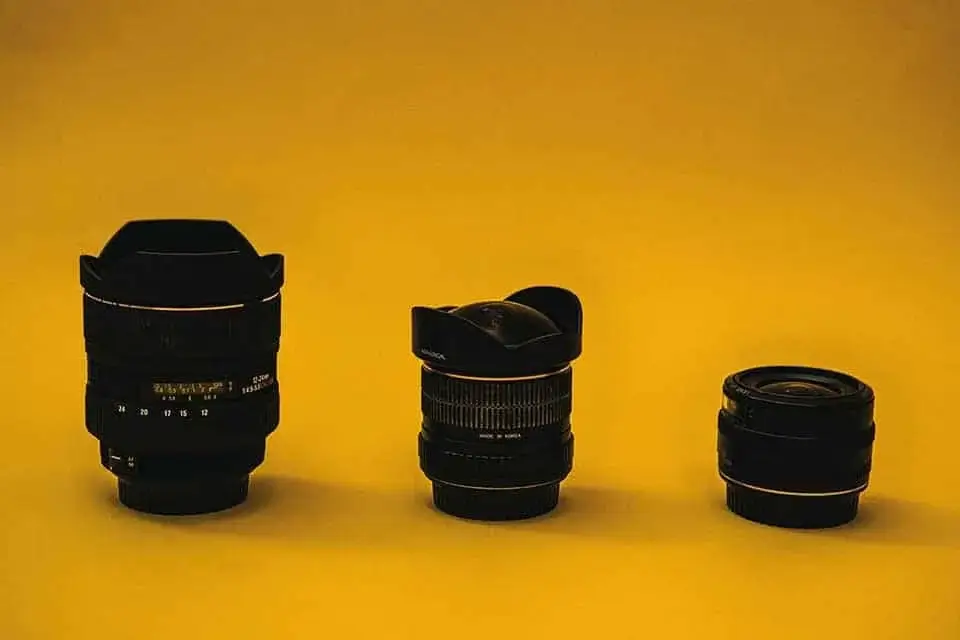
05. Lenses
Selecting lenses for product photography is a concerning decision. First, you have to consider the size of the subject, lighting, place, and the distance between the camera and the subject. Now, you are ready to decide which one will give you excellent performance.
Based on my experience, I would like to suggest Canon EF 24-70mm and Sony FE 50mm. These two types of lenses are renowned for product photography, and the price is comparatively low.
06. Light
In general, three lighting types are commonly used in product photography studios: Fluorescent, tungsten, and LED. All have the support of great output in product photography lighting. So, select one from your personal preference and experience. However, Fluorescent is mostly available in photography studios because it never gets overheated.

07. Bounce Board
A Bounce board is also known as a reflector board. It is a plain piece of material with a reflective surface required to be used as an alternative light source. Bounce boards usually contribute to creating a new border and directional light source to manage light sufficiency. Check out these 10 best product photography backdrops or bounce boards.

Familiarity with Various Product Photography Tips
As a beginner in the product photography field, you may be searching for guidance from a veteran. Today, here you will discover various product photography tips shared by several expert product photographers.
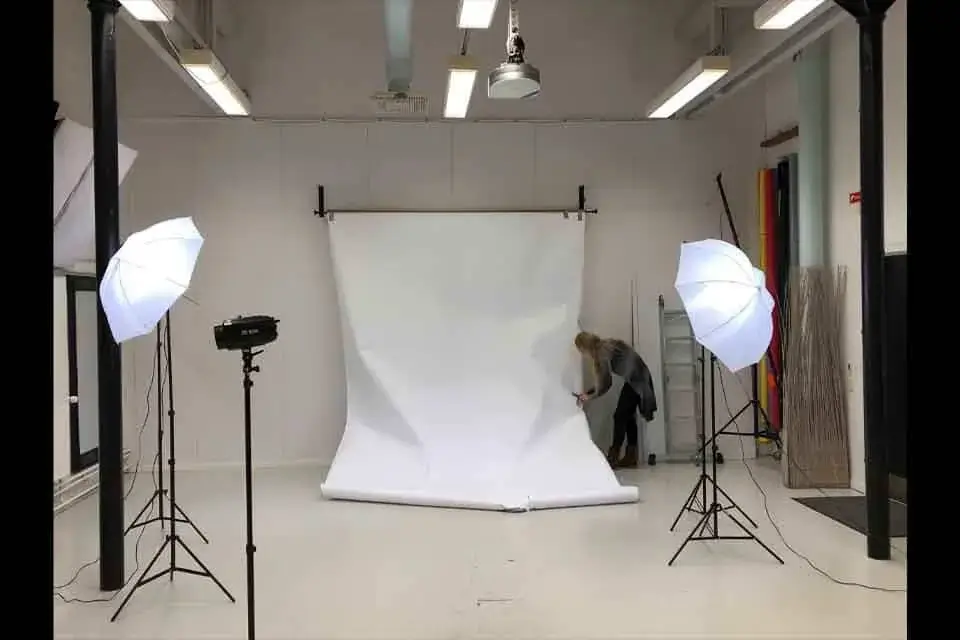
A. Building a Product Photography Studio
The first and most significant product photography tip I would like to indicate is creating a photography studio. Often, people are concerned that building a product photography studio is both a lengthy and expensive process. But you would be happy to know that the whole concept is wrong.
Creating a photography studio is not difficult and also requires a limited amount of money. A single table or a 10 feet by 10 feet room would be enough space to transform into a studio for product photography.
Just make sure no kids, housemates, pets, or any interruption exists in the place. Also, emphasize the following proper product photography guidelines to set up all the equipment in a perfect place. Don’t worry; by the time you read the blog, you will learn proper instructions on setting up a product photography studio.

B. Product Background
Preparing a white background is not an easy task to accomplish. The product background is not like placing a table against the white wall. It means a neat and clear view of the background. Nevertheless, maintenance of a white wall is not easy to carry out because a whitewall demands repainting periodically.
So, in that situation, fixing a sweep as the image background is the perfect decision. A sweep is a giant sheet of paper covering a product’s ground level and sticks to the wall surface. The sweeping curve is invisible on camera, and pictures captured under the sweep carry little blemish. Even if you take a shot with your smartphone, you will get a flawless photo.
C. Setting up Camera
Even though you are a novice as a product photographer, it’s still better to think like a professional. When you’re in the field of product photography, always pay attention to covering high-quality images. Fixing the ISO, aperture, and shutter speed settings of a camera will serve you with outstanding quality product images.
Now, given a suitable aperture level for a particular category of images, you need to find the F-stop setting in a camera. Besides, the aperture level is measured between F1 to F22. The lesser the aperture level, the better light you get to your camera, and further, your shutter speed also increases.
However, keeping the camera and products within a standard distance is necessary. And make sure that you never have to use the zooming option for product photography because it causes poor-quality pictures.
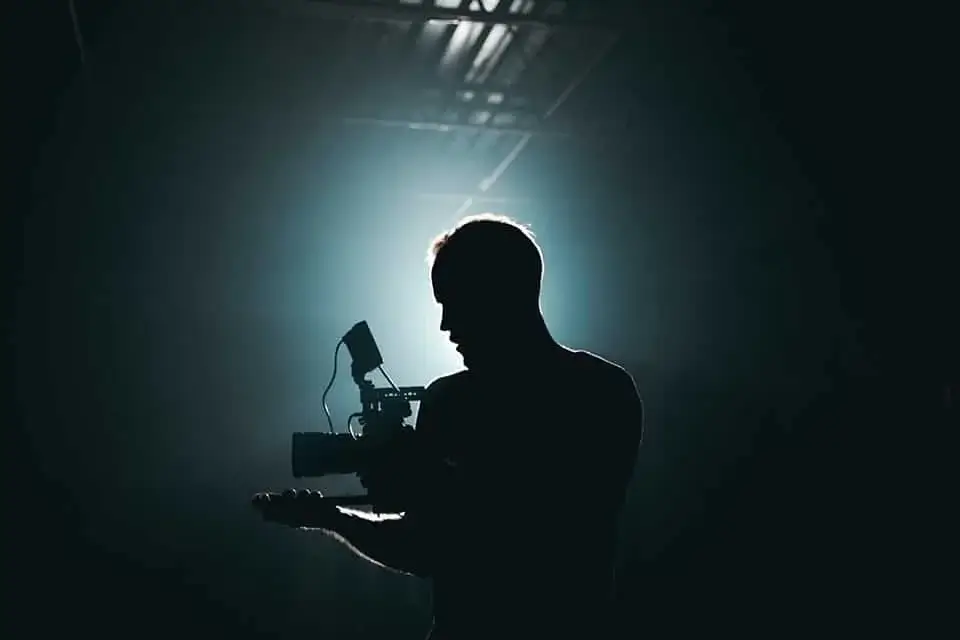
D. Product Photography Tips for Lighting
“Product photography for beginners” when this term comes up, along with that, a question also arises; do beginners understand the theory of lights? Most of the novices try to jump into the product photography field for instant success. But to achieve a place in this photography field requires an exact comprehension of the light theory.
Fundamentally, experts detected two kinds of lights for product photography. Such as Natural Light and Artificial Light, but you have to decide based on your product which one to choose as your main light source.
Different Types of Product Photography
A product photoshoot is an art form that can be used to create beautiful and exciting images of products for advertising or catalogs. There are several different types of commercial photography, each with its advantages and disadvantages. In this portion, we will go through the most common types of product photography setups, which may help you expand your business:
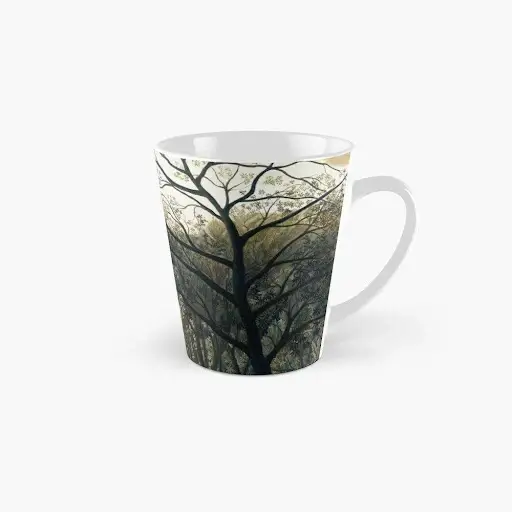
A. Solo Shot
While presenting your product to the customers, the solo shot is the best choice to attract the consumer’s attention. There is no need to hire a professional photographer as you can easily create photos with just a few clicks. You only need a good camera with a long lens and some creativity.
E-commerce sites like Amazon, eBay, and Alibaba give priority to this kind of shot. Product photography can be used for a variety of purposes, including advertising, branding, and product marketing.
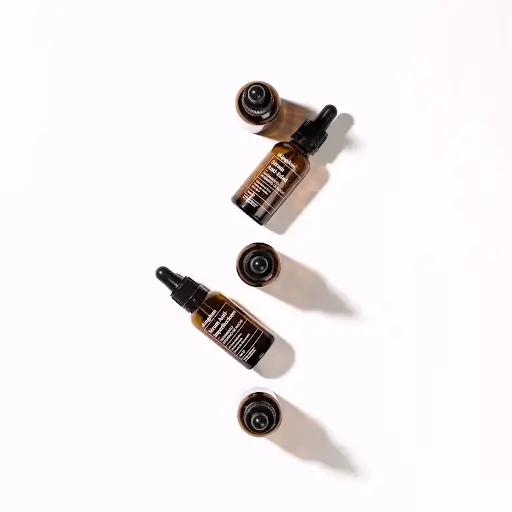
B. Multiple Product Photography
Nowadays, it is very easy to capture photos, but there is another thing that can make it better and more beautiful, which is multiple-product photography. This is the combination of two or more products in one photo, and it is really helpful in many ways. A beautiful picture can create a wonderful impression of your personality and business.

C. Lifestyle Product Shot
It’s occasionally necessary to place a related product in the photograph to show the product’s actual size and prevent the customer from being misled. In these circumstances, universal objects are required so that the customer can see and compare them.
An excellent technique to depict proportions is to place a human next to or utilize an object. Because white photography alone may not be apparent enough in some products, the scale makes all the difference. As a result, the customer can quickly figure out if the product is right for him and whether he should get the bigger or smaller version.
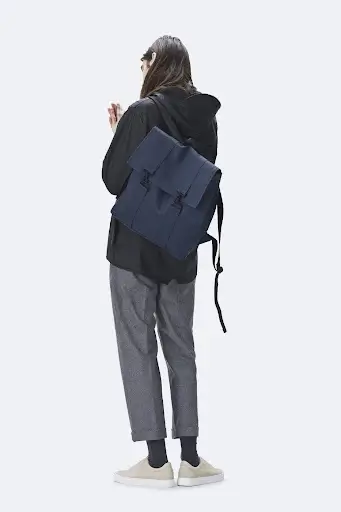
In this case, a model represents himself/herself as a shopper to entice the buyer. In this manner, shoppers can get a clear idea of the product. Putting a model next to the product makes it smoother, and consumers can judge the product properly.
D. Product Photography with White Background
For tangible things offered on websites, branding is required and advantageous. Your product image must appear precise and attractive when it comes to brand photography. As a result, product photography images with a white background are the best alternative for achieving this look and feel. If the image is visually appealing, they will want to buy it right away.
Colorful products with a white background magnify the product’s view. It gives a clear picture of the goods and keeps customers from being distracted. The only thing here is to adjust the shadow, which gives a realistic exposure.
E. Studio Shots
The specific type of photography that we immediately connect with this phrase is the scale shot. These pictures, which were taken in a studio, show things in the simplest way possible and are used a lot in e-commerce and directories.
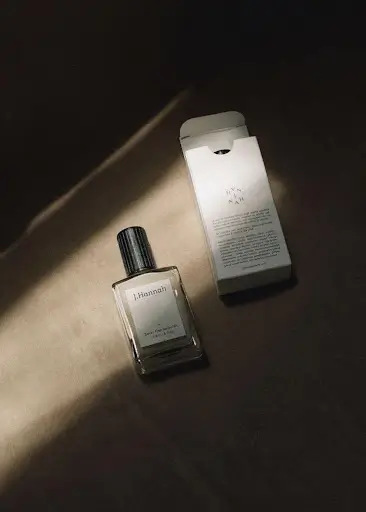
The photographer must adapt to the different aspects of each product’s textures, packaging, and materials, yet the overall result is always consistent and identical. Whether it’s a piece of clothing, a pair of shoes, or a bottle of perfume, the result will be a picture that shows the product’s features in the most transparent way possible.
In this kind of photography, it is often necessary to take pictures of all products at once in a set studio to make sure they all look the same and the light direction stays the same.
This is not a creative type of photography. Some shadows are sharpened in this type of product shooting to show off the product’s shape, and the background color might change depending on what you want to show off.
F. Environmental Photography
For some products, presenting the product in a genuine location, contextualized with a lifestyle, may be the ideal approach. Many businesses are using this type of photography because they want to show how their history and beliefs align with each of their goods.
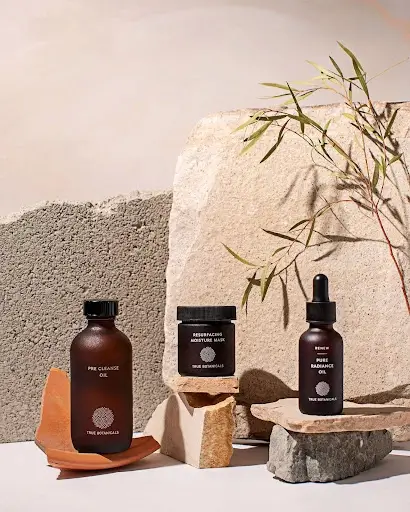
It is often utilized in the fashion and decoration industries to promote a certain level of life and elicit empathy from the target audience, who share similar interests and recognize themselves in the photographs. The brand is selling more than one product; it is selling the client’s desired moment and atmosphere, and as a result, the customer does not make a more emotional purchase and establishes a stronger bond with the brand.
G. Packaging Photography
Customers, believe it or not, are concerned about packaging. Customers expect a seamless online shopping experience from the moment they land on your website to the moment they pay for and receive their purchases.
In the end, it doesn’t matter if your product is excellent or not if your presentation is poor. And, if your products come in excellent, customized packaging, why not feature them? On your product page, shoppers can get a sense of what to expect
H. Product Photography Post-Production
The moment you are done with commercial photography is not the ending part of your job. Now, you carry hundreds, even thousands, of product images in your hand as a primary selection. Picking up the best one is the first step of your product photography post-production process. Next, the final touch-up and color correction are the second and last tasks you have left to do.
I. Final Touch-Ups
Finally, after all your hard work, you invent every photograph is splendid, yet you must retouch it a bit. By getting the help of photo editing software, you can make images outstanding and attractive to clients. Based on many professional product photographers’ verdicts, I would recommend Adobe Photoshop or Adobe Lightroom to perform better.
Conclusion | Product Photography Tips
Finally, we reached the end of our discussion on various product photography tips. And you may now be able to understand the value of product images. Bear in mind that images bestow the proper description and fame of your product and company.
Consumers also often ask, Are you loyal? Can you solve their problem? Demonstration of an alluring product image clears all the doubts they have. So, always keep that in mind while walking into the product photography industry.
However, please don’t make it mandatory to invest money in every piece of instrument explained. Take action to implement these Product photography tips, not instantly but slowly. Approach each type of equipment and address the improvements. Try to figure out what is most coherent with your product photography studio.
FAQ | Product Photography Tips
How Do I Do My Product Photography?
DIY product photography is now a common trend. To set up a product photography studio for your own product, follow the instructions.
First, set up your product background. Second, make a proper setting for lighting. Next, choose a perfect camera or a smartphone. After that, collect a tripod if possible or use books to fix a camera at a place. Finally, submit your images on the right side, like Clipping World, for further processing.
Why is Product Photography Important?
There is only one purpose: product photography helps convince a client to buy a certain product. More commonly, product images enhance the satisfaction level of a consumer. Even perfect photographs explain the product in detail and make purchasers of even tiny product features.
How Do You Avoid Reflection in Photography?
Reflection in product photography is a major and common problem, but sometimes it is also required. However, to avoid excess reflection, you can use these terms.
- Set a bounce card at a reasonable position.
- If required to change the position of the Bounce.
- Consider a different time of the day if sunlight is interrupting.
- Manage a polarizer and use different lenses.
How Do I Become a Product Photographer?
Becoming a product photographer is not as simple as clicking personal images. It needs persistence, hard work, and, most importantly, a proper guideline. Don’t worry; if you stick with the instructions you got today, you will get sine gradually in the product photography.