
As designers, we always like to experiment with color and shape. In Adobe Photoshop, some built-in functionality will help you make different shapes for your customers. It can be a trigonal shape, square, fruit, animal, bird, toy, etc. Are you shocked to hear that? Yes, it is true. This tutorial will discuss “How to create a custom shape in Photoshop?” Let’s go for a detailed discussion.
Significance of the Custom Shape Tool?
When we use the essential tools, there are circles, rectangular shapes, squares, etc. However, the custom shape will give us something extra: music notes, hearts, flowers, different types of symbols, etc. In this way, we can improvise a lot with the images. Eventually, the output will be excellent. Custom shapes are widely used for experimental purposes and to glorify the design.
A Step-by-Step Procedure To Create Custom Shapes
Step 1: Create A New Custom Page and Select the Custom Tool
In this tutorial, we will create a new custom shape in Photoshop. We plan to create a large flower pot with flowers and grass surrounding it. Does that sound interesting?
Let’s dive into a detailed explanation.
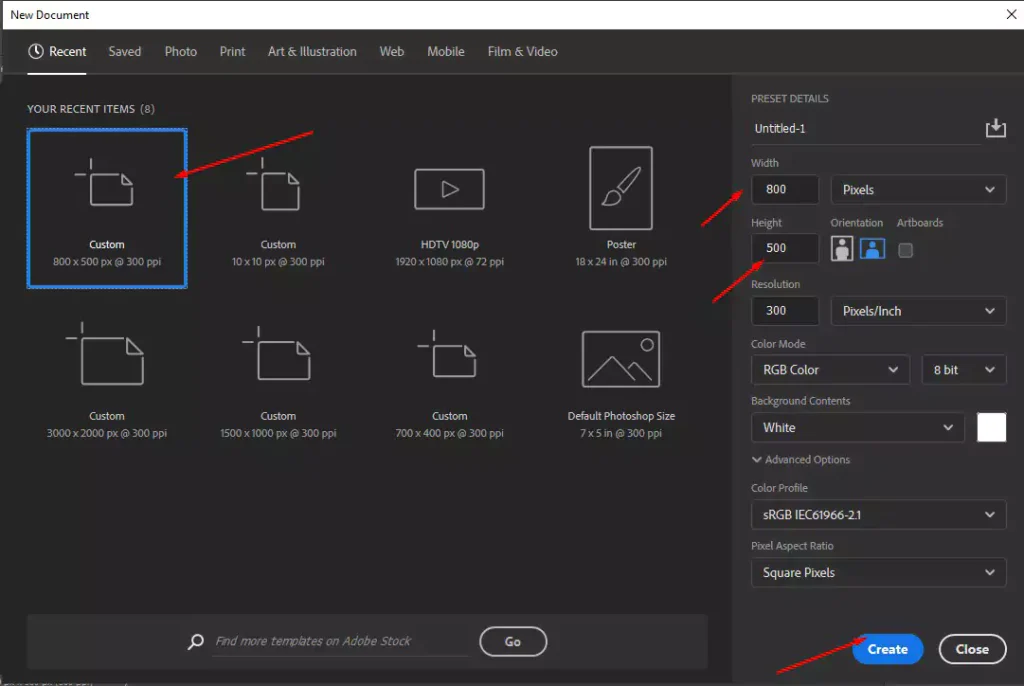
Selecting width 800px * height 500px.
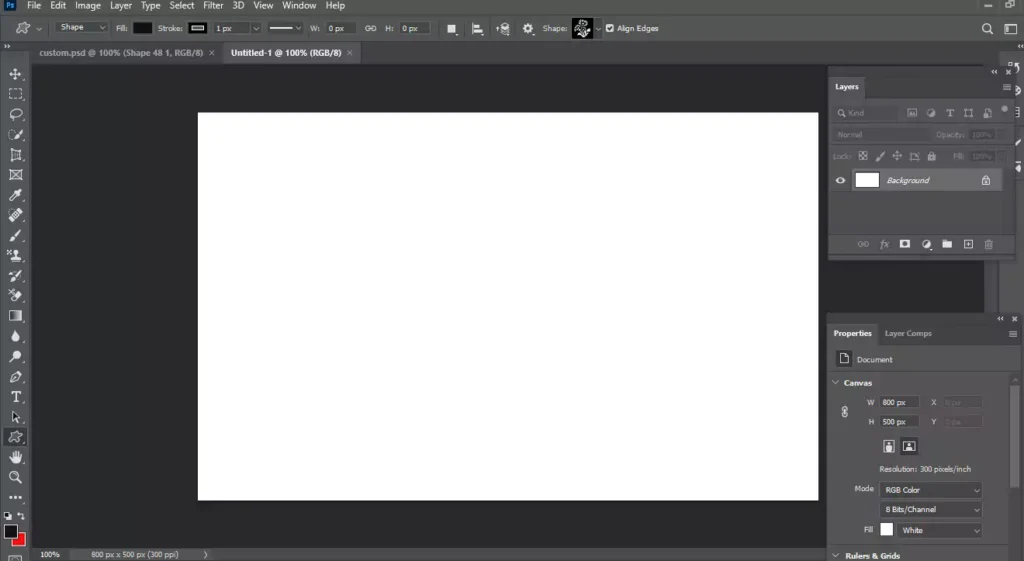
The new blank canvas is ready.

Select the custom shape tool from the tool options bar.
Step 2: Creating Different Types of Flowers By Using the Custom Shapes Photoshop | Free Custom Shapes
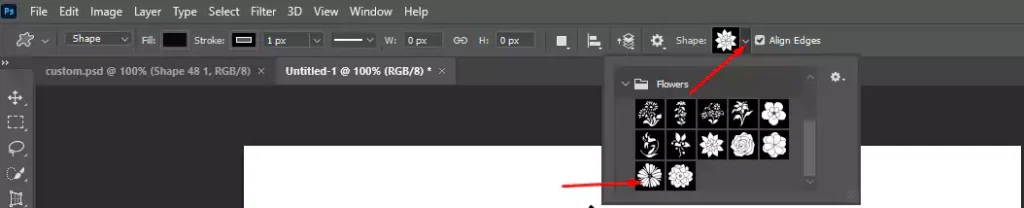
We will select flower shapes from the custom shape options.

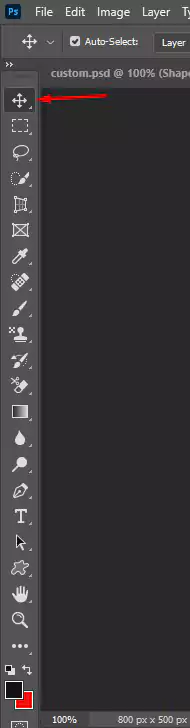
Step 3: Use The Move Tool in Photoshop
We’ve set the flower icon size to 150px by 150px. Now, position it either in the center or a corner of the canvas. Using this method, select two additional flower shapes.
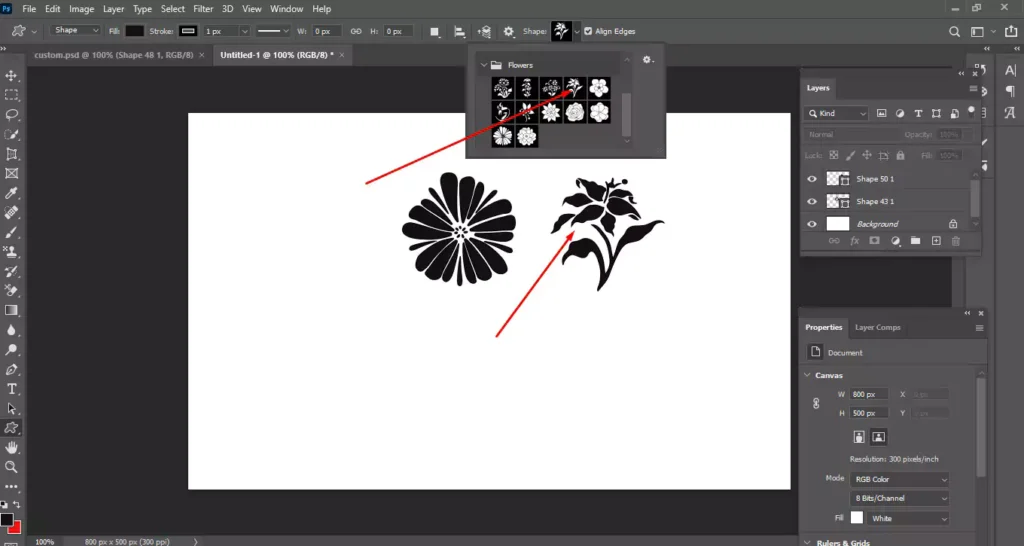
Again, we will choose 150 px in width and 150 px in height for the flowers. We will use the move tool to move it from one position to another. Earlier, we explained how to locate the Move Tool; it’s quite simple to use. Just the top of the tool panel.
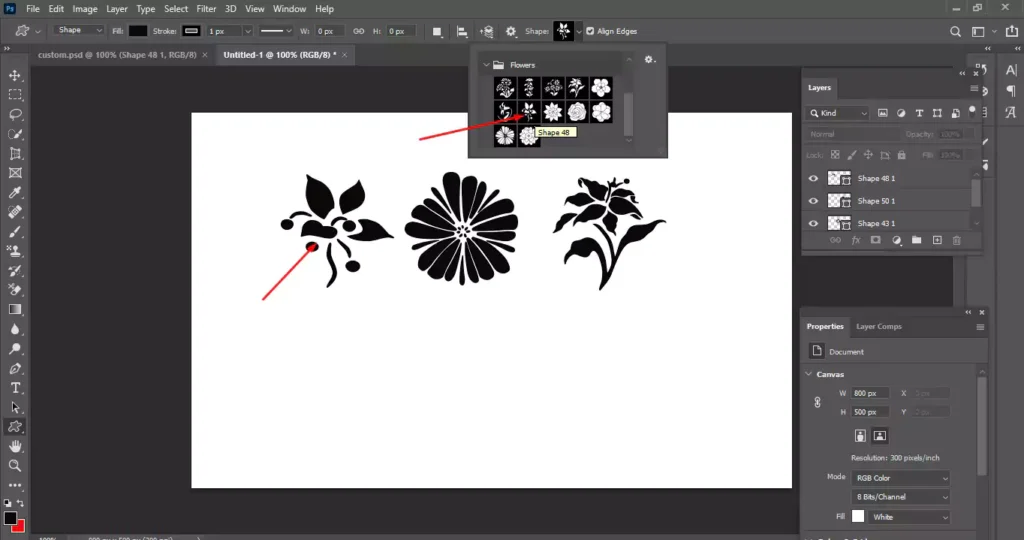
So, we have already done 3 flowers. Our next target is to create 3 tubs and connect them with lines. In this way, we will complete flowers with tubs.
Step 4: Creating Tubs for Flowers | Custom Shapes Photoshop
Initially, we will select the rectangular tool from the tool menu and then create 3 tubs for 3 flowers. Do it as you wish. It will look like this:

All the tubs will create a new layer for the users. Later on, we will rasterize them by clicking the layer menu.
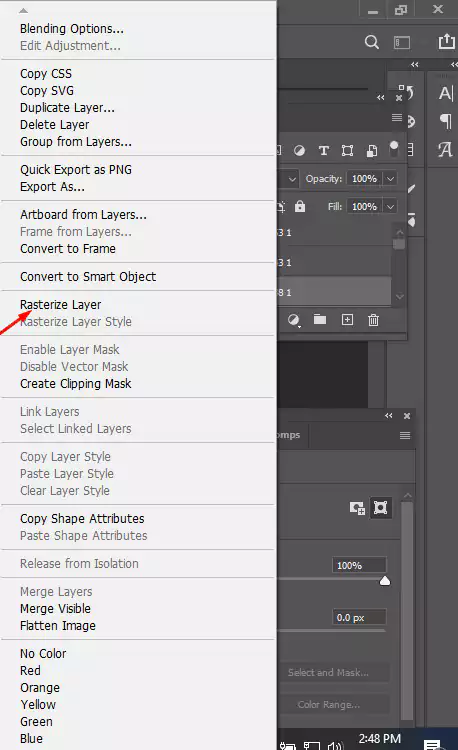
When we right-click the layer menu, we will see different options and choose to rasterize the layer. Now we will select the line tool and complete the flower. In this way, you can easily find the line tool, and we will complete the flower later.
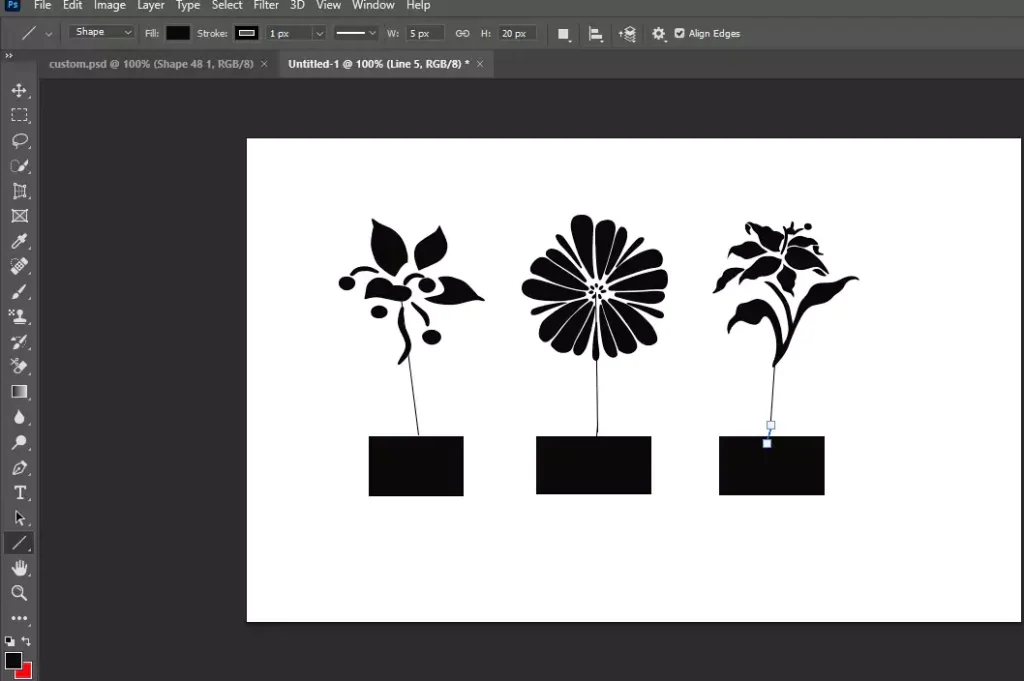
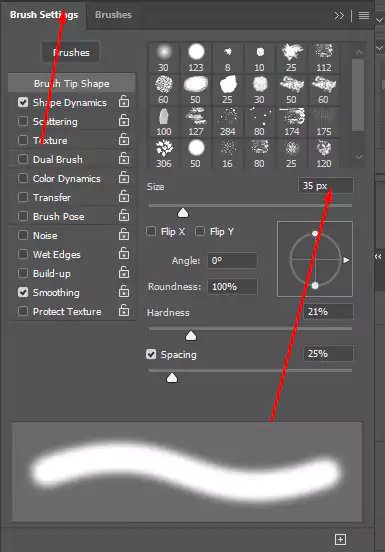
You will draw the lines from the flower’s center to the tube. Next, use a small brush tool to paint along the lines.


We have selected 8px for the brush tool; I believe it will be perfect for us to draw the line. You can slightly increase or decrease it according to your needs. Now we will paint over the lines.
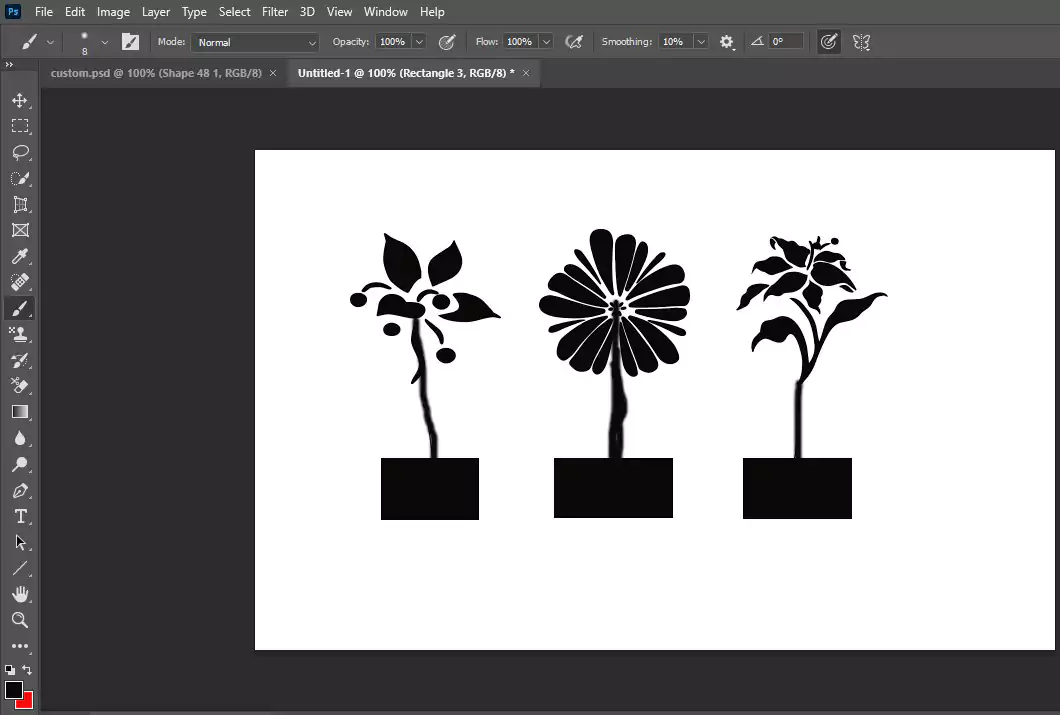
The flower arrangement now resembles a real tree
Step 5: Paint Over the Flower Tubs and Later on Add Grass Over There | Photoshop Custom Shapes
Here, we have used two brush tools. The first one is painting over the tubs and the second one is for creating grass. Using the brush tool, you need to paint slowly over the tubs and feel it like a single one.

After that, again we will change the brush size to 8 and draw some grasses over the mud. Now look at this figure carefully it will look like a real scenario. A perfect custom shape for Photoshop. The result will look like this one!

Now, we will convert it to a vector shape for further work. To do that, we are using an online converter, and the outcome will look like this one.

Later, you need to convert it to a .csh file to import it into Adobe Photoshop.
Check out Our Latest Photoshop Tutorials:
- How To Change Brush Color In Photoshop
- How To Manipulate Text On Face In Photoshop
- How To Posterize A Photo In Photoshop
Final Few Words
In this way, you can easily create successful custom shapes for Photoshop and later use it for various practical uses like urban scenarios, baby toys, interior design, kids’ toys, realistic scenarios, etc. Feel free to share your feedback.I hope you can make it within a few minutes. If you love this tutorial, do not hesitate to share it with your friends.
FAQ
How Do You Import A Custom Shape?
In Adobe Photoshop CC, there is a custom shape option from the toolbar. If you click, you will see a shortcut icon in the options bar. There is a settings icon. If you click it, then you will have the option to import a custom shape in Photoshop.
What are the Benefits of Creating Custom Shapes in Photoshop?
There are several benefits of using a custom shape, like it will reduce your workload and make life super easy. Using custom shapes, you can use different types of shapes for your targeted project.
How Do You Find A Free Custom Shape?
There are thousands of free custom shapes available on Google. Can directly download them and upload them from the options menu. Besides that, you can visit My Photoshop Brush and download some excellent custom shapes from there.