
Underwater photography opens a completely different world—where light bends, colors shift, and every movement creates a unique visual story. Unlike regular photography, capturing stunning underwater photos requires the right techniques, lighting, and control.
Whether you’re a beginner or just getting started, these underwater photography tips will help you take sharper, more vibrant shots beneath the surface.
What is Underwater Photography?
Underwater photography is the practice of capturing images beneath the water surface using specialized cameras, waterproof housing, and lighting techniques. It requires managing light loss, color distortion, and movement to produce clear and vibrant photos underwater.
7 Underwater Photography Tips for Beginners
Underwater photography comes with unique challenges like lighting, movement, and visibility. But with the right approach, you can capture sharp and vibrant images. Here are 7 essential tips to help you get started.
1. Choose the Right Underwater Camera

Selecting the right camera is the first step in underwater photography. For beginners, a compact camera with waterproof housing is a great choice because it’s easy to use and budget-friendly. Many modern cameras also include underwater shooting modes that help improve color and clarity.
When choosing a camera, make sure the housing provides full access to important controls like zoom and aperture. Avoid disposable underwater cameras, as they offer limited features and lower image quality.
2. Practice with Your Camera on Land First

Before diving into underwater photography, it’s important to practice using your camera on land. Handling a camera inside waterproof housing can feel different and slightly bulky at first.
By getting comfortable with the controls, buttons, and settings on land, you’ll be more confident underwater. This helps you react quickly and capture better shots without missing the moment.
3. Master Buoyancy Control for Better Underwater Photos
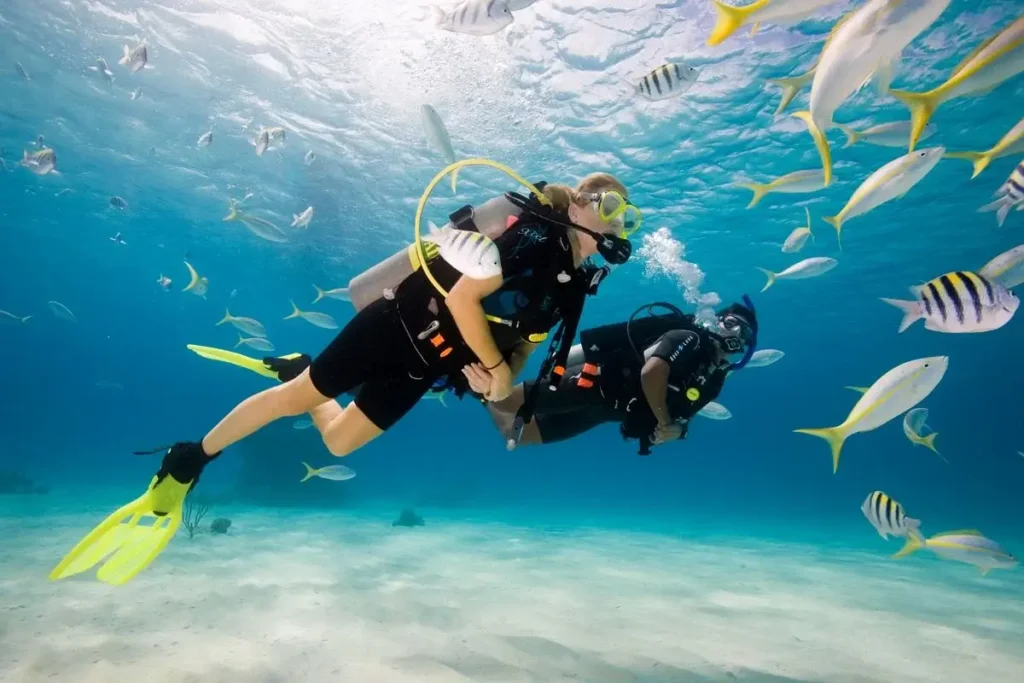
Buoyancy control is essential for successful underwater photography. Maintaining proper buoyancy helps you stay steady, avoid sudden movements, and capture sharp, clear images.
It also ensures you don’t disturb marine life or damage the underwater environment. By practicing your floating and positioning techniques, you can significantly improve your shots. You can also develop your skills further through courses offered by PADI (Professional Association of Diving Instructors).
4. Experiment with Different Angles and Shot Positioning
Underwater photography is very different from shooting on land, especially when it comes to positioning. Instead of always shooting from eye level, try experimenting with different angles, such as shooting from above, below, or at the same level as your subject.
Changing your perspective can make your photos more dynamic, creative, and visually engaging. It also helps highlight details and gives your underwater shots a more professional look.
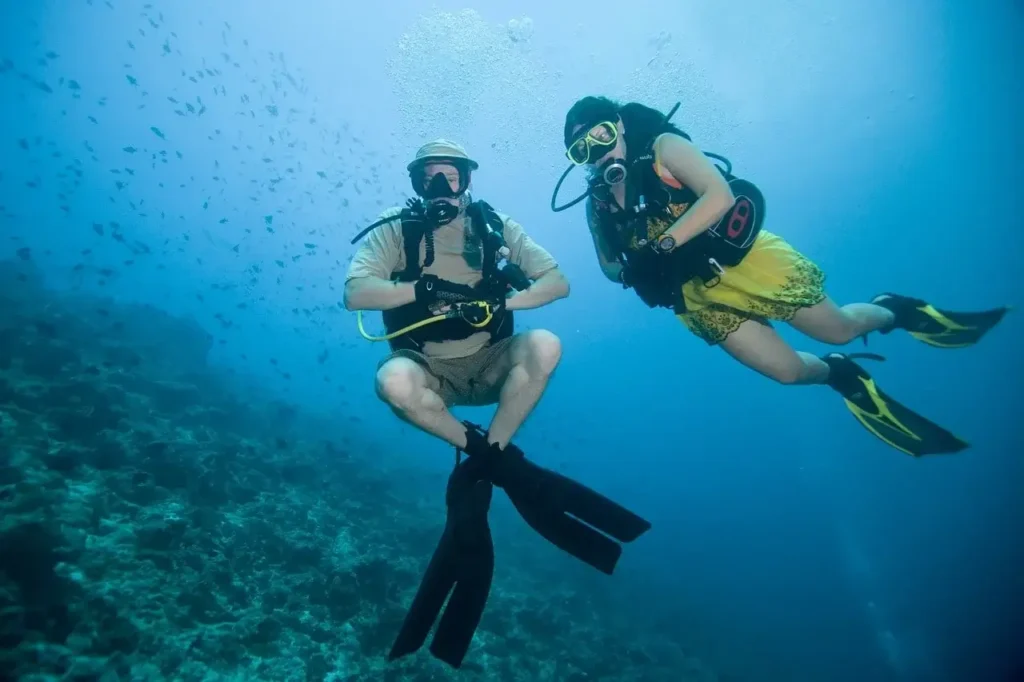
5. Respect Marine Life and Protect the Environment

Respecting marine life is a key part of underwater photography. Never touch, chase, or disturb marine animals just to get a better shot. Your safety and the well-being of the subject should always come first.
Sudden movements, bright lights, or getting too close can stress marine creatures and harm the ecosystem. By practicing ethical underwater photography, you can capture beautiful images while preserving the natural environment.
6. Use Artificial Lighting for Better Underwater Photos

Underwater lighting can be challenging because water quickly absorbs colors like red and orange. As a result, photos often look blue or green without proper lighting.
Using artificial light, such as strobes or underwater flashlights, helps restore natural colors and bring out details that natural light cannot capture. While it takes some practice to use lighting effectively, it can significantly improve the quality and vibrancy of your underwater photos.
After capturing your shots, you can further enhance them using tools like Photopea. For professional-quality results, consider using our expert photo retouching service to improve colors, clarity, and overall image quality.
7. Capture Better Shots Using Natural Light

Natural light can produce beautiful and realistic underwater photos when used correctly. However, it works best in shallow water, typically within 20 feet of the surface, where sunlight is still strong.
Try positioning the sun behind you for evenly lit shots, or experiment with backlighting to create dramatic effects and silhouettes. Understanding how to use natural light effectively can help you capture brighter, clearer, and more visually appealing underwater images.
FAQs | Underwater Photography
It’s a composition guideline: divide the frame into top 20% (sky/background), middle 60% (main subject), bottom 20% (foreground) for a balanced shot.
Yes, with a waterproof case. Works best in shallow water, but for deeper or professional shots, a dedicated underwater camera is better.
It can be challenging due to lighting, movement, and marine life, but practice, proper gear, and understanding angles make it manageable.
Budget-friendly options: GoPro HERO (older models), Olympus Tough TG-6, Nikon Coolpix W300. Smartphones with waterproof cases can also work for casual use.
Explore More Photography Guides
Looking to improve your photography skills? Check out our related guides to learn new techniques, creative ideas, and professional tips:
Conclusion | Underwater Photography Tips
Underwater photography may seem challenging at first, but with the right techniques, practice, and equipment, you can capture stunning and professional-quality images beneath the surface. From mastering buoyancy to using proper lighting, each step plays a crucial role in improving your results.
Keep experimenting with different angles, learn from your experience, and always respect marine life. With time and consistency, your underwater photography skills will continue to grow and produce breathtaking results.
Want to make your underwater photos look even more professional? Our expert photo editors can enhance colors, remove backscatter, and improve clarity to give your images a polished, high-quality finish.