Cut Out Photo or Cut Out Image Service is the most used editing method today. Any subject you can separate from the whole image if you want to. But this editing is quite useful for product photos for online marketing. Product photos should be without a background, transparent background, or white background. So, this one is the topmost requirement from e-commerce websites.
Naturally, the demand for Photo Cut Out is high as e-commerce websites are the best way of marketing today. However, you can separate any subject from your photographs.
And, you can have the accessibility to place the subject in any background. You may find photo cutout free services on the websites. But you may not get a satisfactory result. So, let’s go for the working procedure of Photo Cutout and learn how to do it.
Descriptions of Photo Cutout Service

Photo Cutout Services are well-known to graphic designers for convenience. The program has enough tools and options to work with. Besides, you can use your creativity to show your magic in this. Photo Cut Out is also known as Clipping Path Service, Background Removal Service, or Deep Etch Service.
Though the names are different the theme is the same. Background Eraser Tool is another tool that you can use. However, the operation is quite different and useful for super complex images. Well, the theme is to separate the subject from the whole image. So, technically all do the same in the image or a photograph.
Well, you may find some small differences between them, but I assure you, they are not really mentionable. Another, way of separating the subject from the whole image is Image Masking. And masking is good for the subjects with soft edges were Cut Out Services are less effective.
Working Procedure | Photo Cutout
In order to cut out the photo subject, you need to select the subject first. Photoshop has some tools that you can use for the process. Among them, the Pen Tool is the most useful and handy to do the selection job.
Well, other selection tools are good also, depending on the subject complexity. With the proper tool, you can save your time and labor at the same time. So, choose the tool wisely so that you do not need to work more.
After selection, you need to use a very simple and easy step to separate the subject from the background. And, then you are done and good to go for further editing if you need to.
You can place the subject on another background or place it on a white one. Or you can do more editing to beautify the subject with Retouching. Also, you can add a shadow under the subject to create a natural exposure.
Step 1: Making A Selection (Photo Cutout)
To make a selection, use the most suitable tool. Photoshop has a couple of selection tools that you can use. Also, the program has some artificial intelligence to help you make a selection with less effort.
Well, if you can learn all of these well, you will become a Photo Cut Out Expert. Selection tools you can use from Photoshop features are:
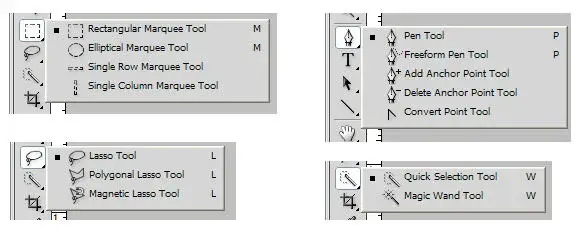
- Rectangular Marquee Tool, Elliptical Marquee Tool, Single Row Marquee Tool, Single Column Marquee Tool
- Lasso Tool, Polygonal Lasso Tool, Magnetic Lasso Tool
- Quick Selection Tool, Magic Wand Tool
- Basic Pen Tool, Freeform Pen Tool, Curvature Pen Tool
- Select & Mask (Artificial Intelligence)
- Color Range
A. Rectangular Marquee Tool, Elliptical Marquee Tool, Single Row Marquee Tool, Single Column Marquee Tool
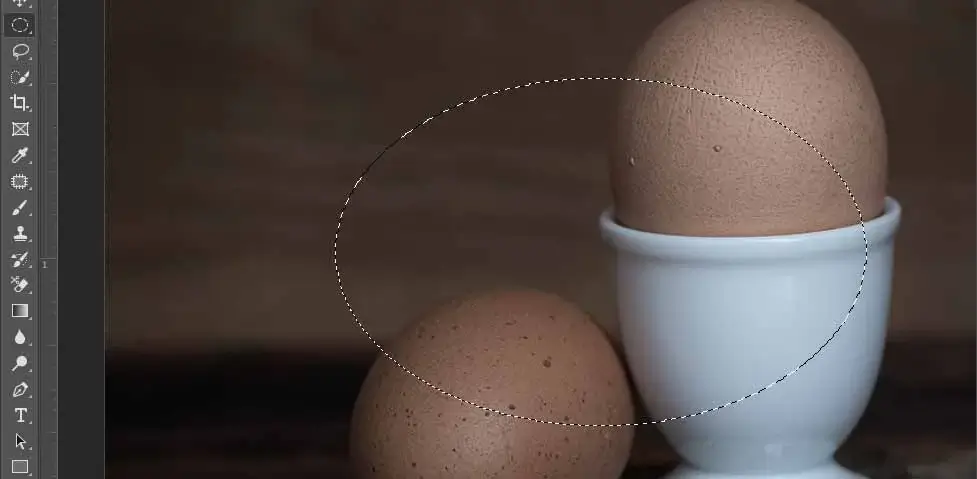
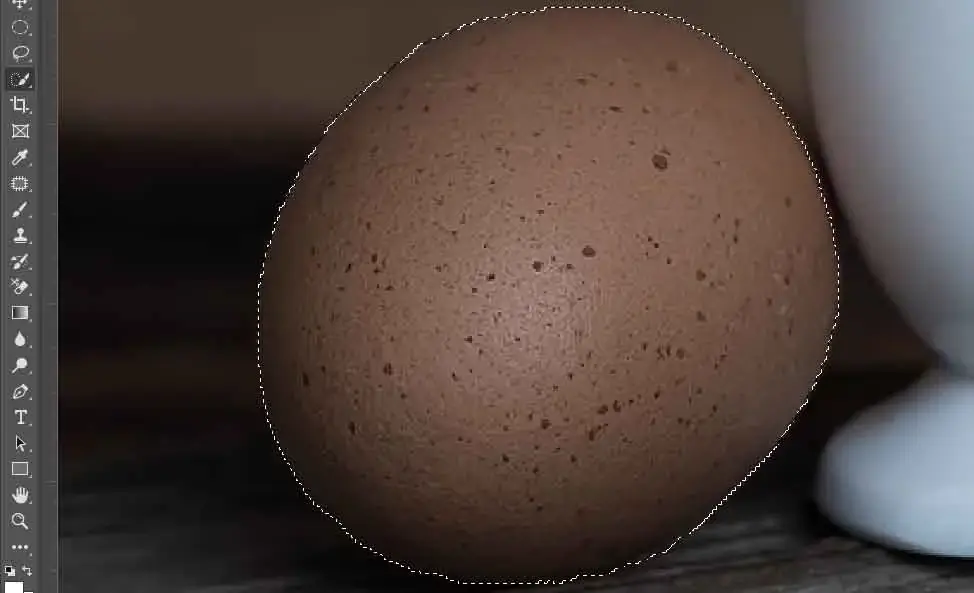
You can use the Rectangular Marquee Tool or the Elliptical Marquee Tool for a geometric-shaped subject. In the below image, we have only created an example of the selection. We have used the Elliptical Marquee Tool to make the selection.
Well, the shape is variable, and you can use the best shape that you need. Other Marquee tools have different ways of selection. Cut Out Image Service is very less effective with these options.
B. Lasso Tool, Polygonal Lasso Tool, Magnetic Lasso Tool
Selection by the Lasso Tool or of the same class is a rough selection. When you need a selection of a specific area these tools are not really effective. But, if you need to select an area not so accurate, you can use them to save time.
C. Quick Selection Tool, Magic Wand Tool
Quick Selection Tool and Magic Wand Tool are good for sharp-edged subjects. Also, the subject should not be over a busy background. And the resolution should be high enough to make the selection comfortable. So, if you have such a subject to select, this one works like magic.
D. Pen Tool, Freeform Pen Tool, Curvature Pen Tool
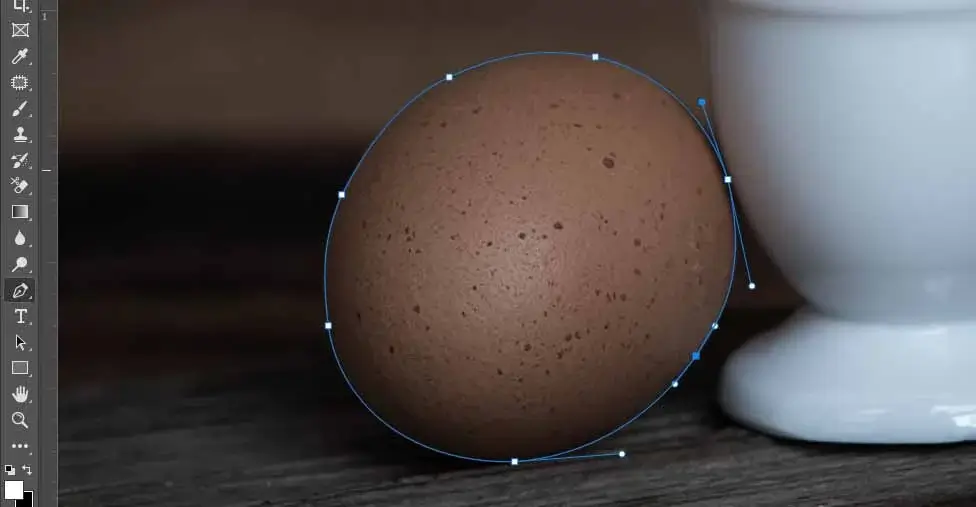
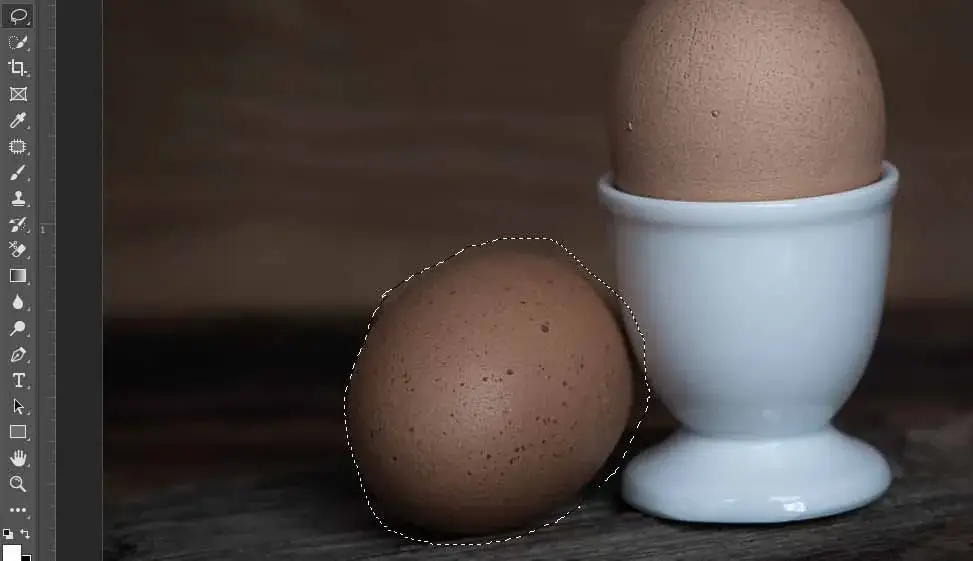
Pen Tool is the most effective and convenient tool in Photoshop for the subject with hard edges. You can cut out soft-edged subjects as well and modify the edges later. But the process will take longer. So, soft-edged subjects are better with another tool that we are about to learn. In the image below, we have just created the path with the Pen Tool.
To make the selection according to the path, you just need to use Ctrl/Command+Enter/Return for Win/MAC. Removing the selected area from the image is a simple step that we will learn right after describing the selection tools. Product photography cutout is more convenient with the Pen Tool & Clipping Path.
E. Select & Mask (Artificial Intelligence)
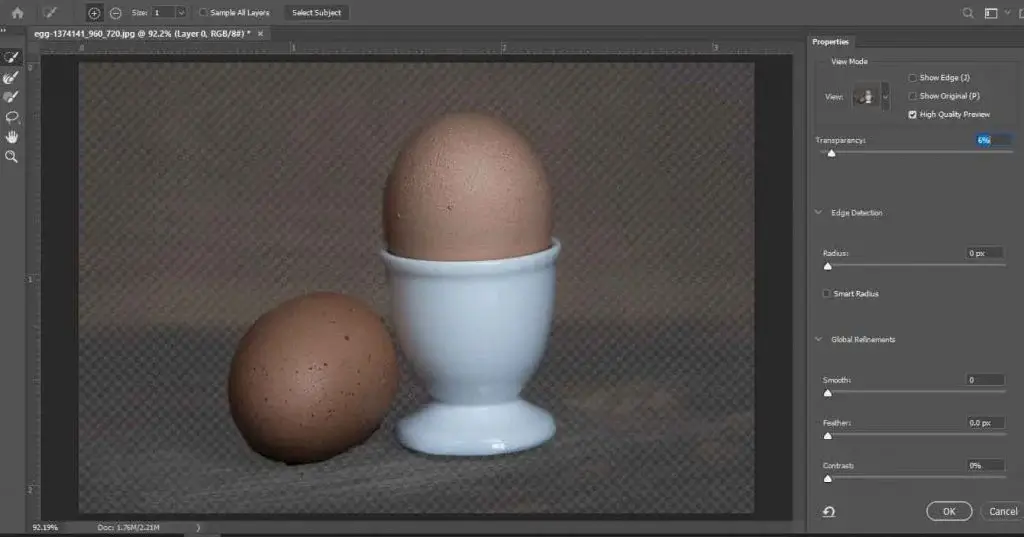
To use the Select & Mask option, you need to select any selection tool first. You will see the option on top, right below the Menu area. Click on that and the image you will see on a new window. Here you will find another option named ‘Select Subject’.
Click on that and Photoshop will do the selection automatically. If you find the selection is not in the right order, you can use the tools from the left-hand side. Select output settings and press OK.
You will have the subject masked on the whole image. Also, you can edit it later by double-clicking on the layer. Cut Out Photo online free services use some artificial intelligence similar to this one.
F. Color Range
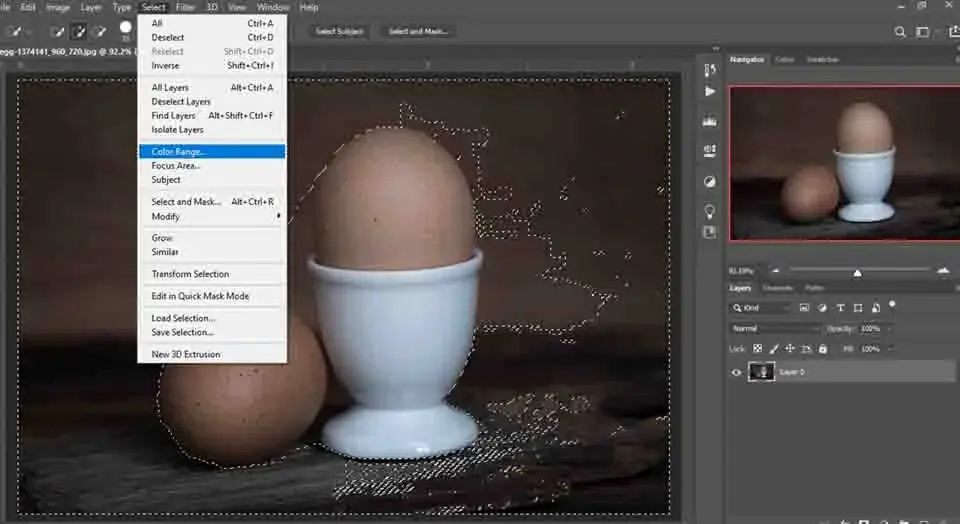
The selection with the Color Range option is pretty tactical. Well, this is an option for making a selection but there are some conditions. The background should be solid colored. The subject edge should be sharp and clear. And, finally, you need to invert the selection to choose the subject.
When you are done with the selection, just mask it. Photoshop Cut Out Image with the color range option is timesaving sometimes.
Step 2: Separating from the Background (Photo Cut Out)
We are using the Pen Tool method with the Clipping Path for the image. When you are done making the path, go to the Paths window and rename it to save. Now, get back to the Layers window and use Ctrl/Command+Enter/Return for Win/MAC to make the selection.
To separate the subject from the whole image you can use two ways. And they are –
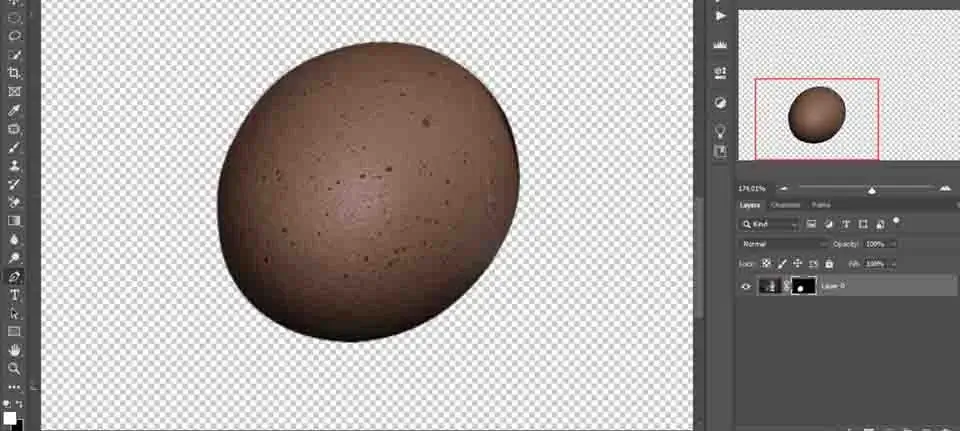
- Use Ctrl/Command+J for Win/MAC and hide the main image. You will have the subject in a new layer.
- Use the Mask button when the subject is selected, and you will have the subject only. You can use the masked subject any way you like. Also, you can apply the layer mask and have the subject alone.
Conclusion
So, that’s it. Pretty simple, right? When you have to image separation from the background, you can use it on any background. Also, you can keep this one as it is and save it in JPEG format.
Photoshop will save the image automatically on a white background. If the subject is a product and you want to use it on e-commerce websites, you should use a white background and add some shadows.
Shadows give the subject a natural look. If you want to save labor, you can use online photo cutout services as well. And that will save both your time and money.
Frequently Asked Questions | Cut Out Photo
01. What is Photo Cut Out?
Ans: Separating the subject from the whole image is basically a Photo Cutout. The process is pretty simple with the right tools and knowledge.
02. How to do a Photo Cut Out in Photoshop?
Ans: To do a Photo Cut Out, first you need to make a selection. After that, you can easily separate it from the whole image. Making the selection should be perfect in order to get a proper Cut-Out.
03. Why do you need a Photo Cutout?
Ans: Photo Cutout is very important for product images. In e-commerce websites, product photos should be without a background or on a white one. Except for this, Photo Cut Out is useful to change the background.
04. How is Photo Cutout useful for online marketing?
Ans: For online marketing, Photo Cut Out has significant value. You cannot just upload a product photograph as it is. The most basic requirement is, that the product should be without a background you can do this by Photo Cutout.
05. When do you need Photo Cutout Services?
Ans: To remove the background or change it, you need Photo Cut Out Services. Also, you can change the whole impression of the subject through this.